Adding dynamic Bing Maps to a Blog Post
|
Apr 29 |
Embedding interactive maps and image galleries into your blog posts is a great way to showcase your road trip!
Open the Post Editor to embed Bing Maps into a blog post. You can attach a map as the enclosure image (the hero image at the top of the page) or inline within a blog post.
There are two types of maps that you can embed
- A Map Route showing the route between two or more locations
- A static map
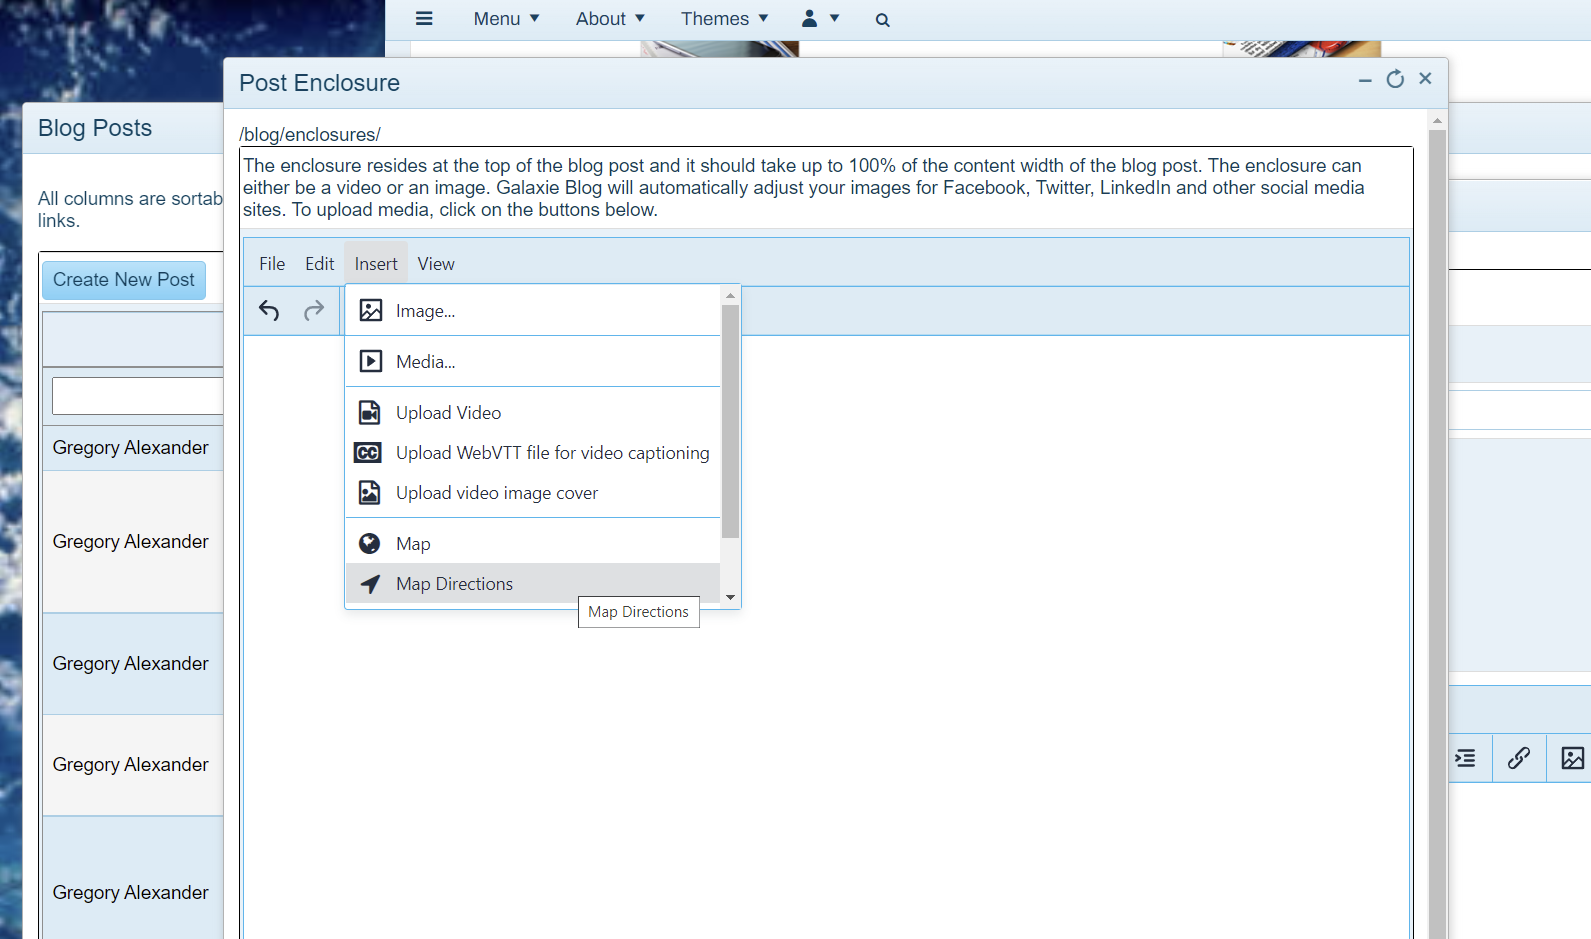
To embed a map, click on one of the last two icons in the post editor.
- Use the globe icon to embed a static map
- The arrow icon will embed a map route
Embedding Static Maps
- Open the post or enclosure editor and click on the globe icon to the right of the editor. Alternatively, click on the Insert menu and select Map.
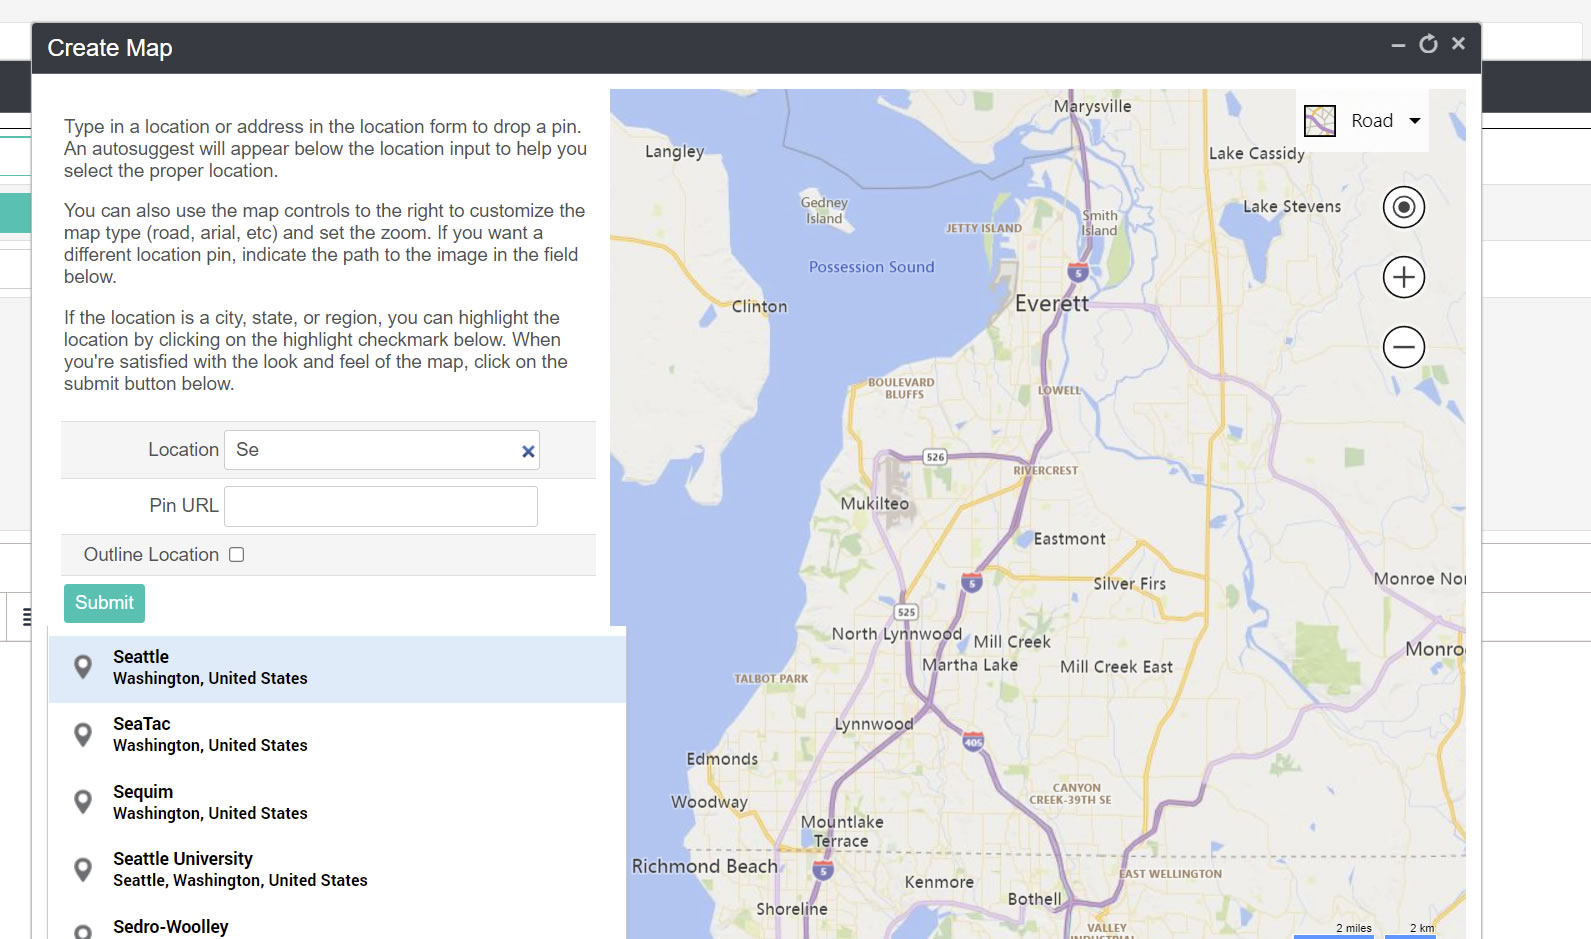
- Type in your desired location in the Location text box.
- The map autosuggest should populate as soon as it finds the results
- Click on your desired auto-suggested value, and a map preview will appear.
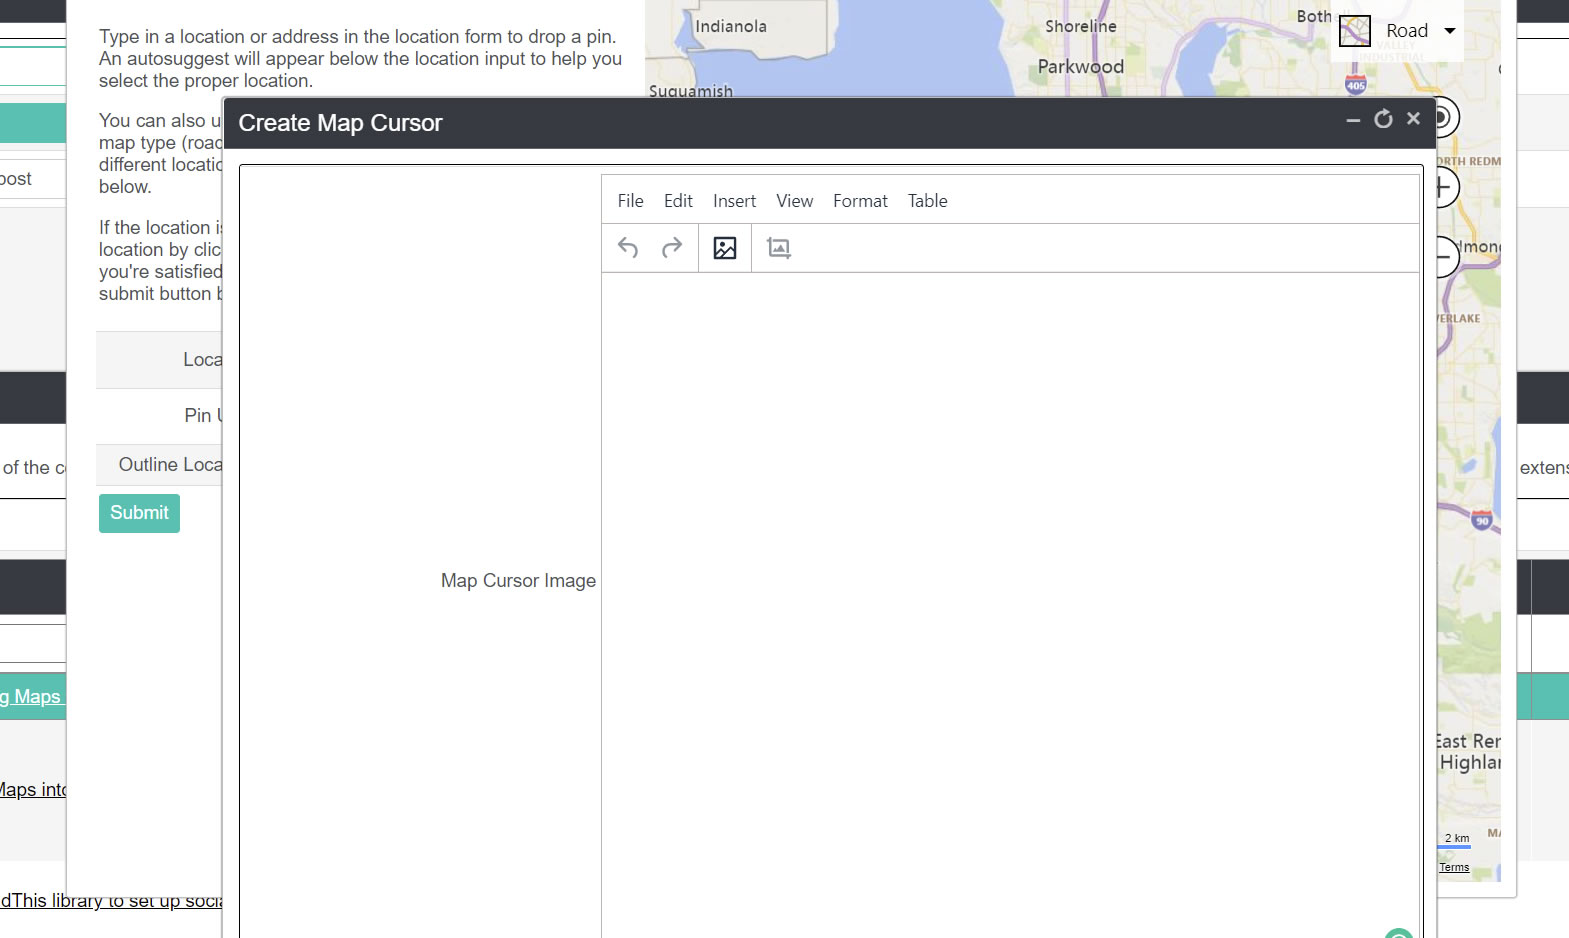
- If you want an optional custom map cursor, click on the Pin Url field to open up the Pin Url editor. See Uploading Images for more information.
- You can also optionally outline your location if it is a city or a place. Click on the Outline Map checkbox to do so.
- Once satisfied with your map, click on the Submit button to continue.

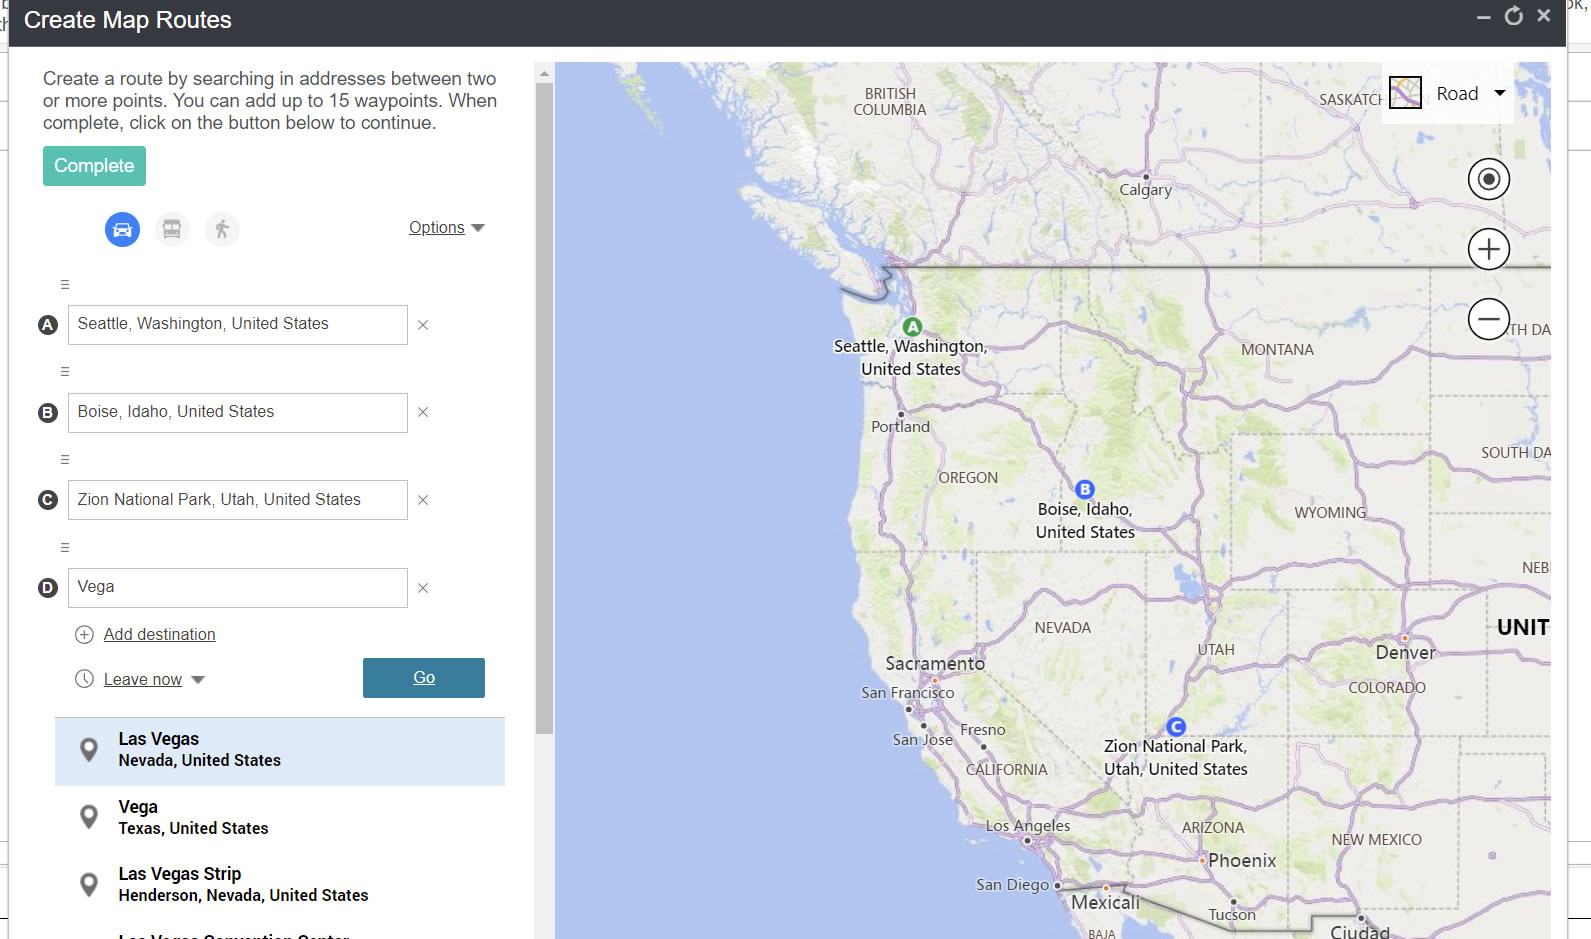
Embedding Map Routes
- Click on the arrow icon in the Post or Enclosure Editor or click on Insert - Map Directions.
- Enter your starting location.
- Enter the final destination, or click the Add Destination link to add more points to the route. A map route can have up to fifteen (15) different destinations.
- Once done, click on the OK button at the top left-hand corner of the page.
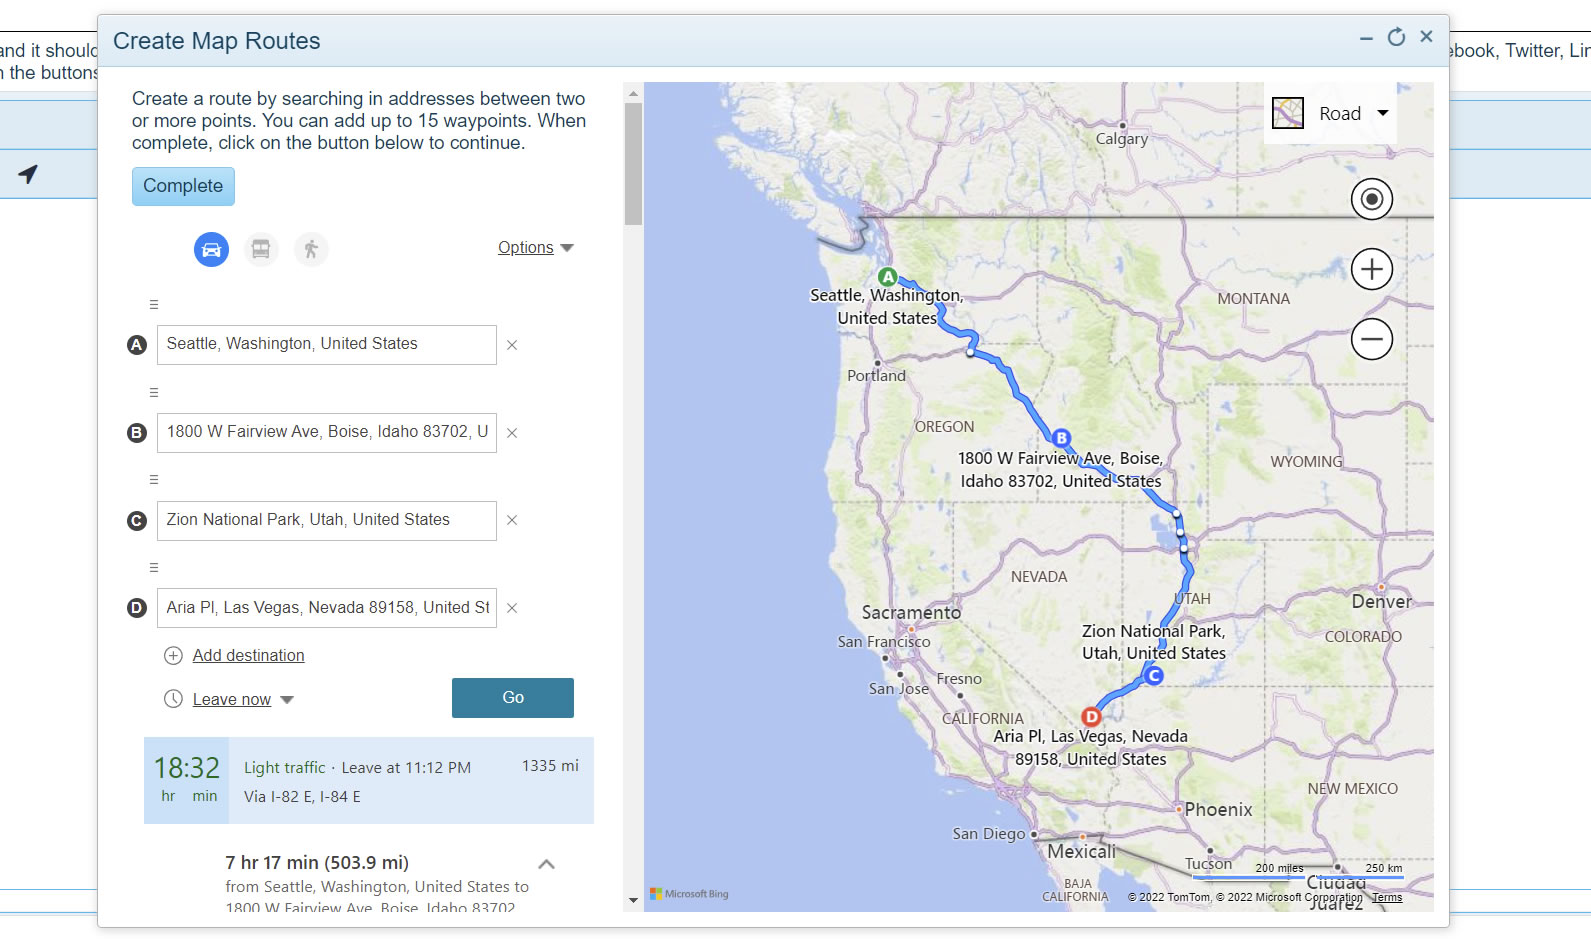
That's it. An interactive map will be included in your blog post!
Note: maps are not supported by Facebook or Twitter social media sharing. If you want to share these maps to either platform, you should take a snapshot of your map, upload these snapshot images to the server, and use the following Galaxie Blog Directives with the proper links to the image:
<twitterImageUrlMetaData>YourImageUrl</twitterImageUrlMetaData>
<facebookImageUrlMetaData>YourImageUrl</facebookImageUrlMetaData>
Related Entries
Tags
Galaxie Blog DocumentationThis entry was posted on April 29, 2022 at 10:49 PM and has received 823 views.