Galaxie Blog related posts

Galaxie Blog Version 4.07 Released
Galaxie Blog 4.07 supports Azure static maps and direction routing as well as fixing many bugs due to the most recent Adobe ColdFusion update.

Galaxie Blog Update
Hi all, I have found several bugs after the most recent Adobe updates and will try to address them in the next update.
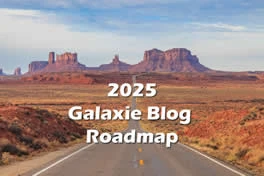
Spring 2025 Galaxie Blog Update and Roadmap
I wanted to provide a quick update and share a roadmap for Galaxie Blog.


Galaxie Blog 4 Is Released! Galaxie Blog- Ready- Set- Go!
Galaxie Blog is a wickedly fast, full-featured, free, open-source blog that supports Lucee and Adobe ColdFusion.

2024 Fall Galaxie Blog Update
I want to provide an update on my upcoming plans with the Galaxie blog in late 2024.

Galaxie Blog Update Fall 2023
It has been a while since I updated the Galaxie Blog codebase and want to provide a status update.
Galaxie Blog Version 3 is launched and is now in Final Release Candidate Status
I am proud to announce that Galaxie Blog 3 is finally launched. This version is intended to compete with all of the major blog platforms and supports all major modern databases.

Happy New Year!
I hope that everyone has a wonderful New Year and I wanted to provide a status update on Galaxie Blog. While I have not b