Galaxie Blog User Management
|
May 31 |

Galaxie Blog is a multi-user Blogging platform. There are many reasons why you should be able to add multiple users. If you're looking to increase the content your blog generates, you can add new users to contribute their own Galaxie Blog articles. Or, you can assign an editor to edit the grammar of the posts. The User Grid and User Detail Interface manage blog users and their roles and capabilities.
Table of Contents
User Roles
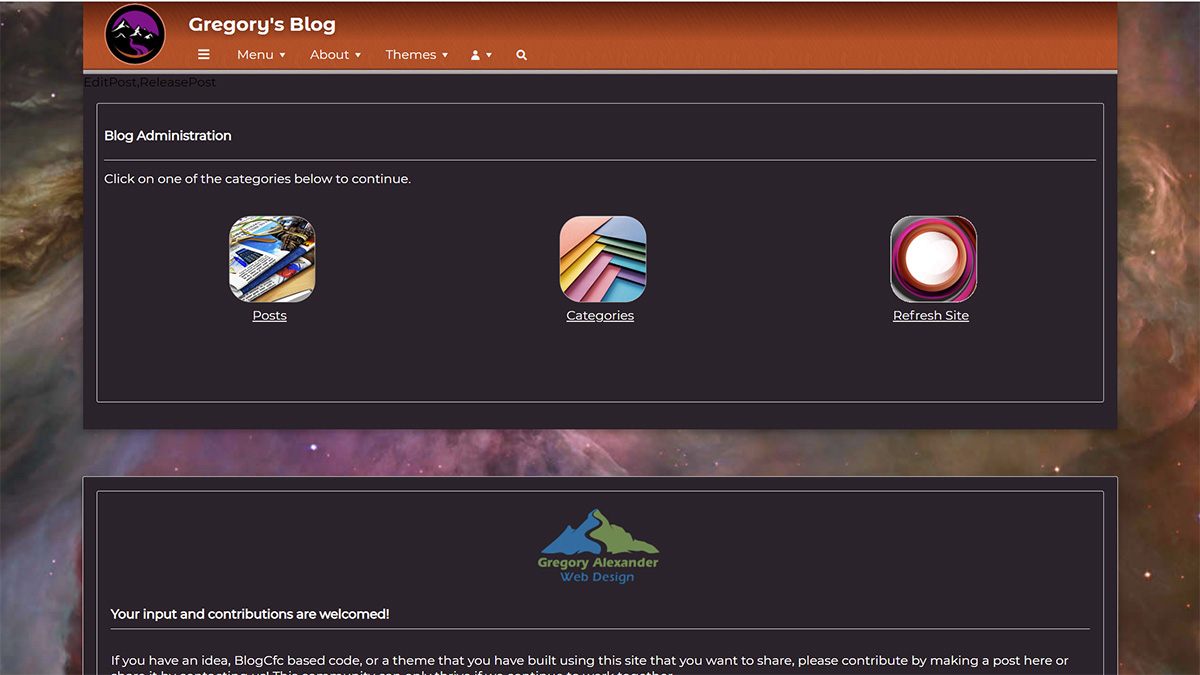
Roles and capabilities are an essential part of Galaxie Blogs' user administration. Each role comes with several pre-defined capabilities, and you can create custom roles and capabilities. If the user does not have the proper capability, the interfaces that require this capability will not be shown. Below is the picture of the Admin Interface for the Post Editor role, which only can create or edit existing posts:
The following are the built-in Galaxie Blog user roles. Custom roles can also be created; see the capability section below.
- Administrators - full access
- Author - can create posts
- Designer - may modify theme properties
- Editor - may edit but not release a post.
- Guest - not used at the present moment
- Moderator - can moderate comments if using the native commenting system (not Disqus, though)
- Subscriber - not used in this version
- Super-User - has full access other than having access to the blog settings and options interfaces.
User Capabilities
Users and custom roles can also be assigned unique capabilities. The following capabilities are available:
- Add Post - may create and release posts
- Asset Editor - may add or modify post media (images, videos, etc)
- Edit Category
- Edit Comment
- Edit File (for future use after adding CMS capabilities)
- Edit Page (for future use after adding CMS capabilities)
- Edit Post
- Edit Profile (may change user information, but not passwords)
- Edit Server Setting
- Edit Subscriber (may delete or add new subscribers)
- Edit Template (future use after adding CMS capabilities)
- Edit Theme
- Edit User (can manage users)
- Release Post (may release a post to the public)
The Edit User Interface covered below can determine each role's capabilities.
Adding a New User
To add a new user, click the Create New User button at the top of the User Grid. Except for the website field, all fields are required when creating new users. Additionally, the user name must be unique.
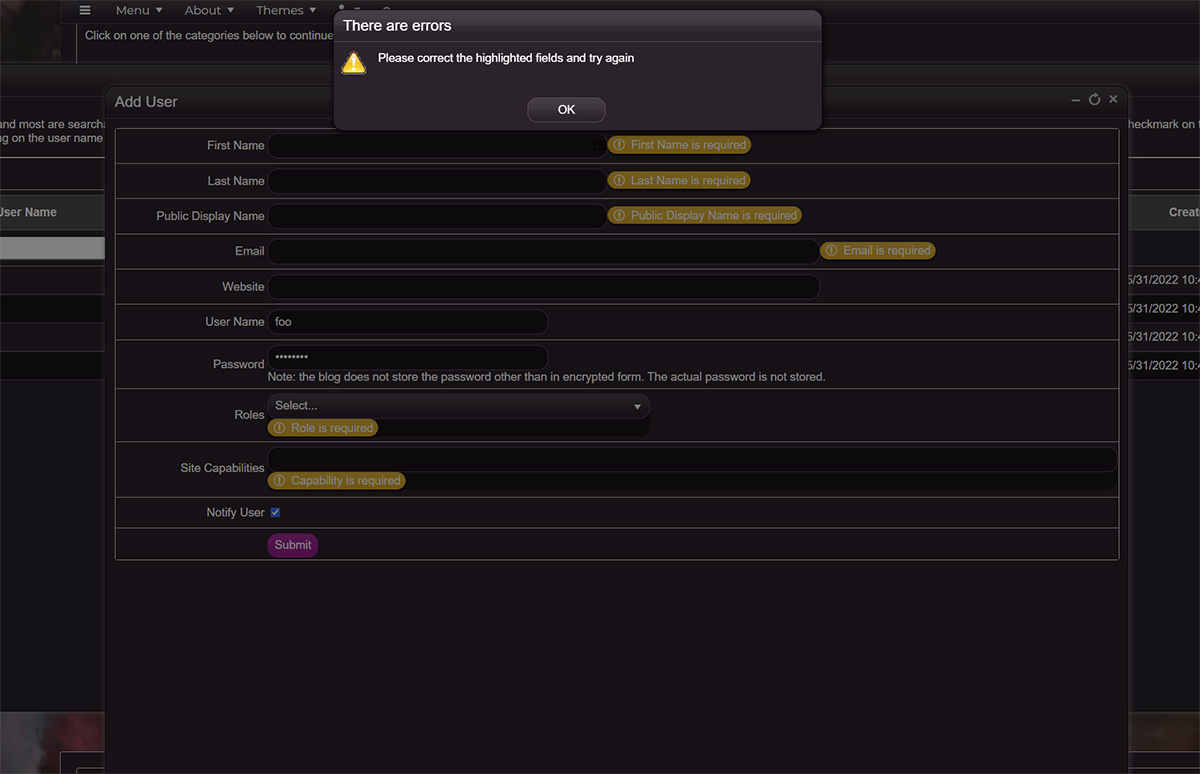
The initial password you assign will not be the final user's. This password is only to log the new user on once they have received their email and have clicked on the setup profile link. The new user will set up their password.
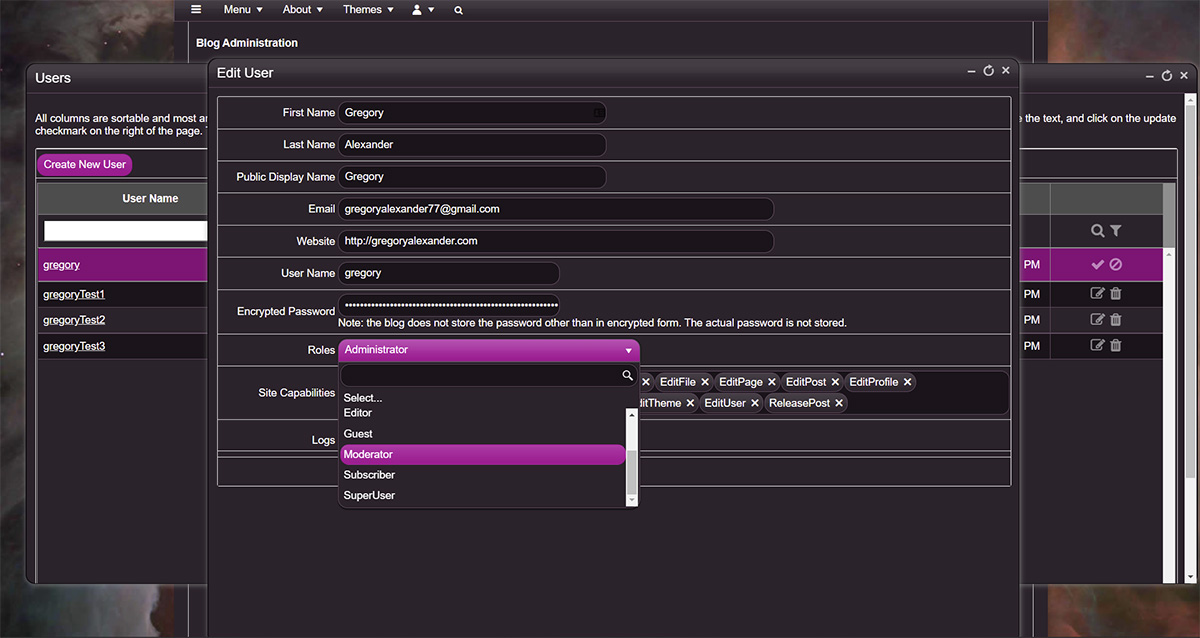
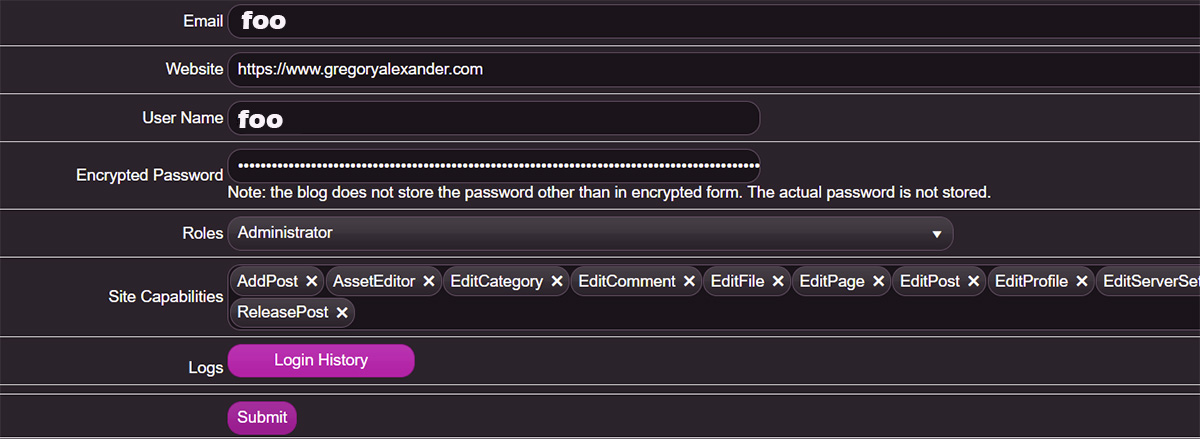
The administrator also needs to choose the default role and capabilities. Once you select a role, the capabilities assigned will be shown below it. You can tailor the desired capabilities by clicking on the x button next to a capability to remove it or select a new capability from the dropdown widget. See the pictures below for clarification.

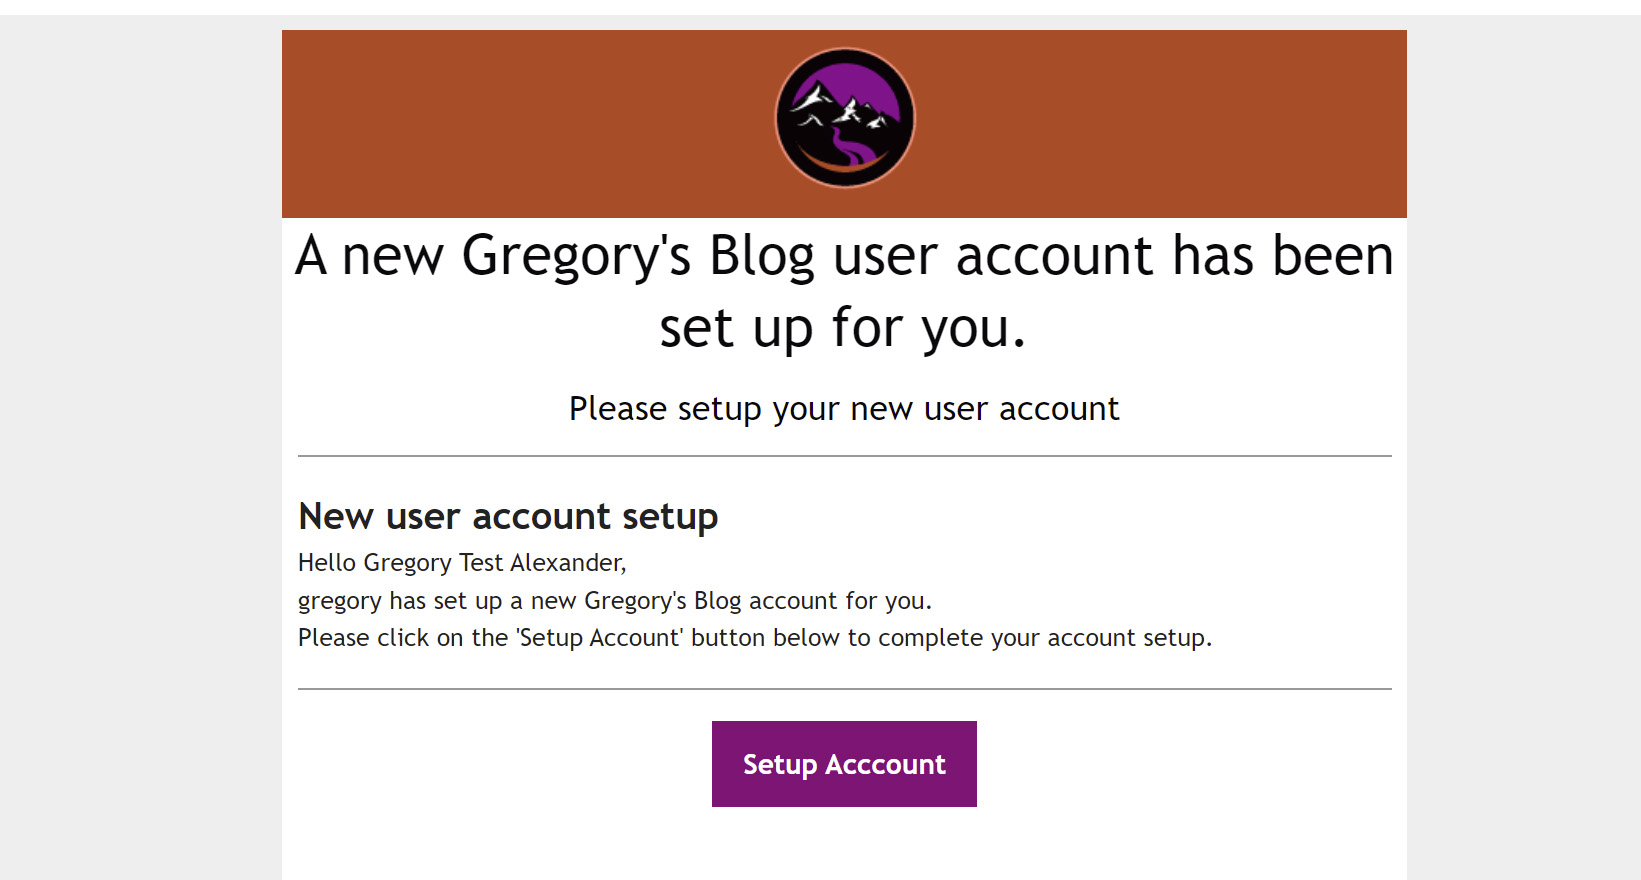
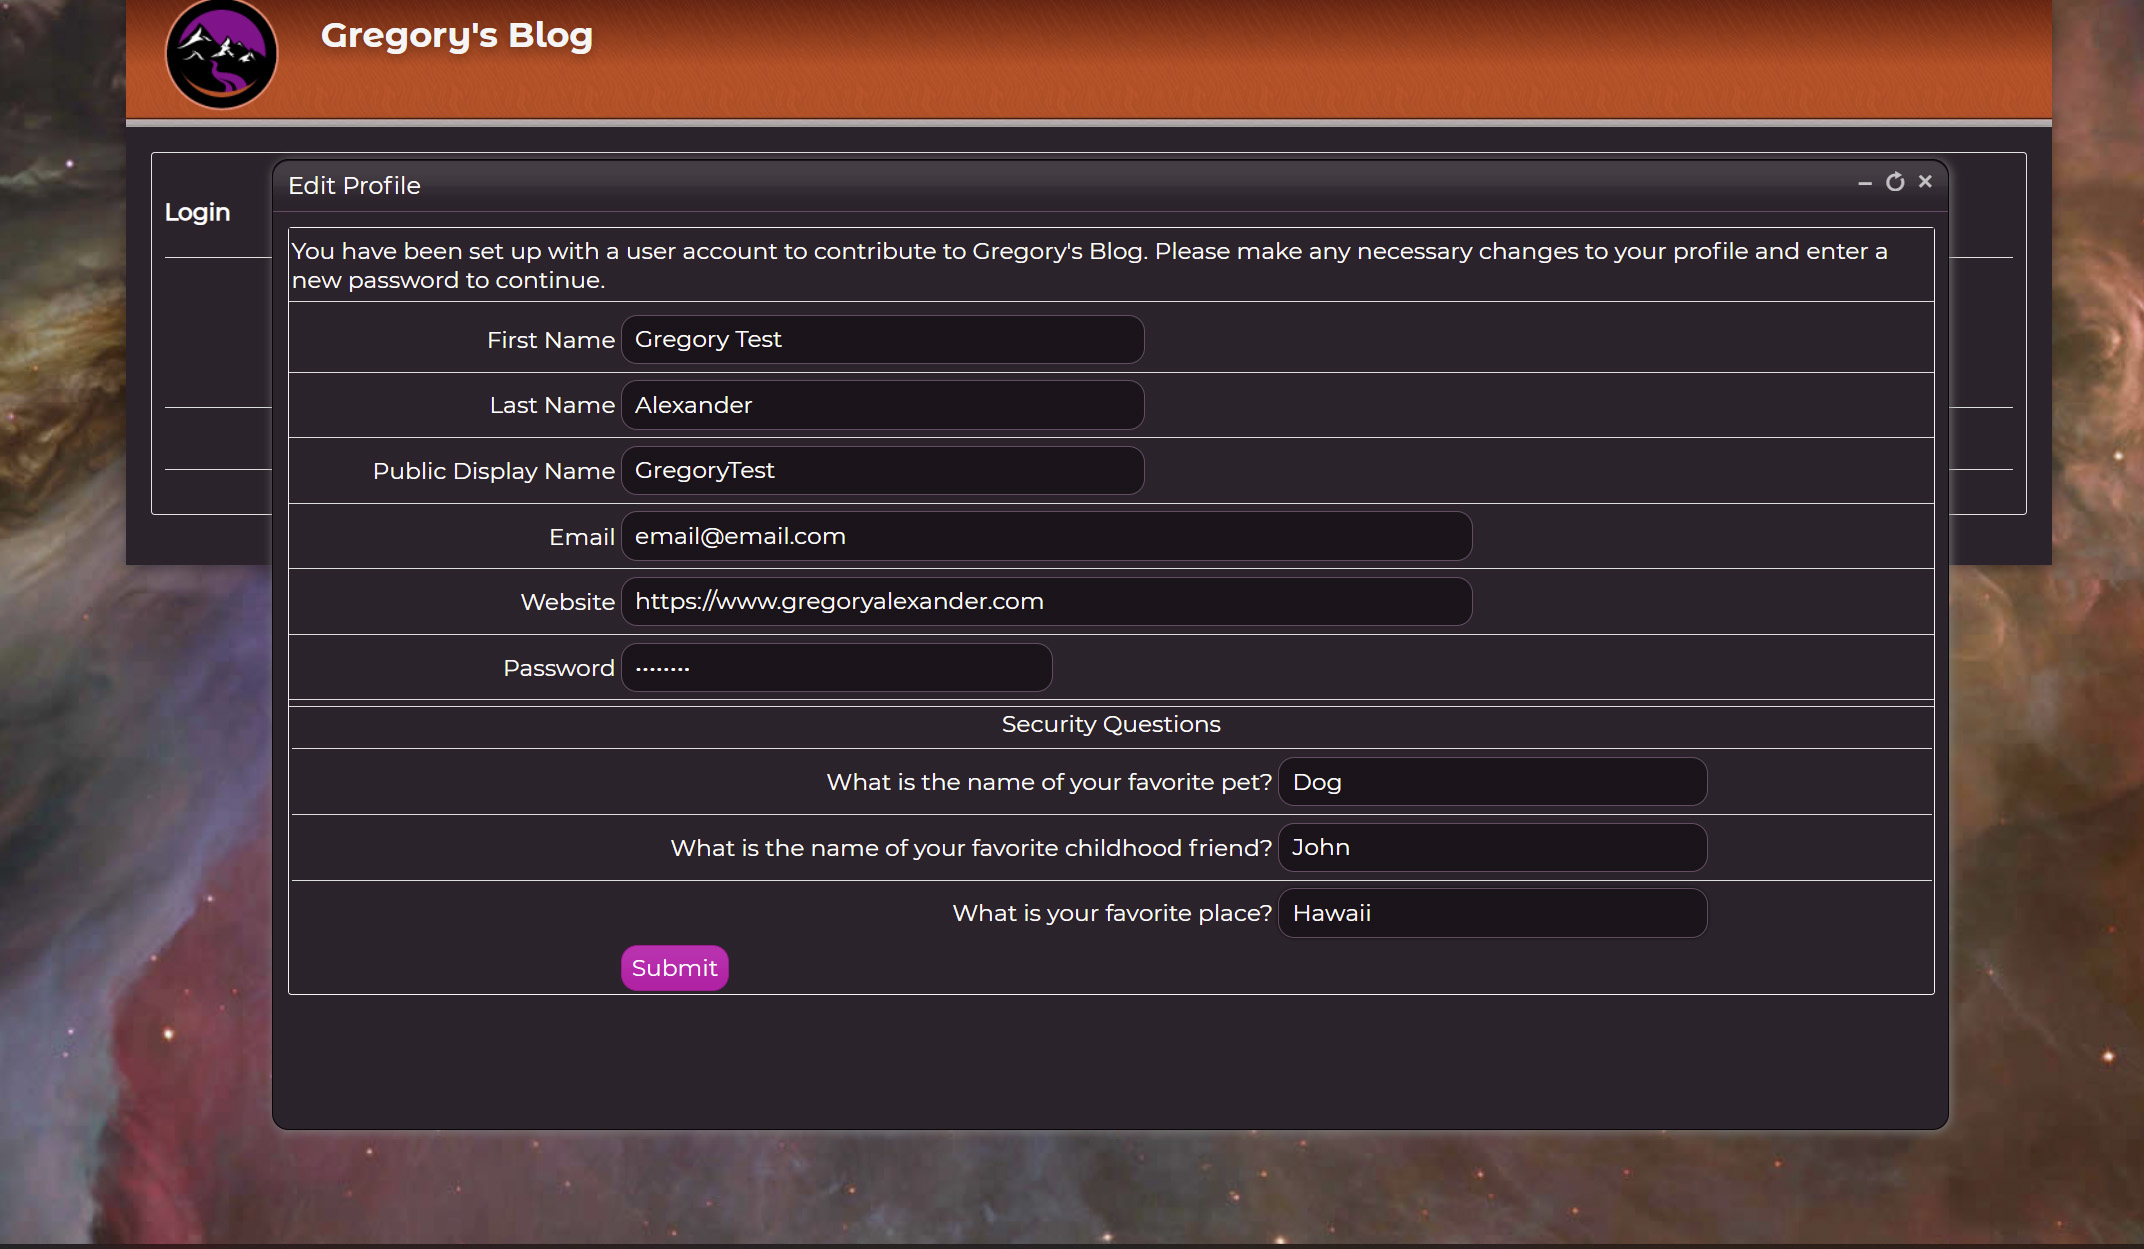
Once you are done and have submitted the form, a branded email will be sent to the user's email address, asking them to set up their profile. They will need to fill out their personal information, such as their name and email address, along with several profile questions that will be used if the user needs to reset their password. They also will set their password. This password is not retrievable and will be encrypted using the Advanced Encryption Standard, which the US government recommends to protect classified information. Additionally, for security purposes, the user profile information is not available to anyone other than the user filling out the page.
Modifying Users
Any user with the Edit User capability can modify other users. These administrators may not view or change other users' passwords however, they can only send a password reset that automatically sends an email to the user requesting that they change their password. This process follows the Add User Process.
Users may change their password if they already have the correct user credentials by clicking the password form field. They are asked to verify the password that they typed in, and if it matches, they can submit the page to change their password.
Viewing User Login History
Administrators with the Edit User capability may view the user's login history by opening the user's profile and clicking on the Login History button near the bottom of the page. Users may also look at their login history to determine potential security issues by clicking on the User History button at the bottom of the Edit User Interface.
This entry was posted on May 31, 2022 at 2:35 PM and has received 801 views.