Upload and Host your Own Videos with Galaxie Blog
|
May 3 |
Galaxie blog allows you to upload and play your videos. Your video will be placed at the top of the blog post and will capture your readers' attention. This interface will also allow you to create closed captions (CC) on top of your video using a WebVTT File and cover your initial video with an optional image.
Table of Contents
Uploading Videos
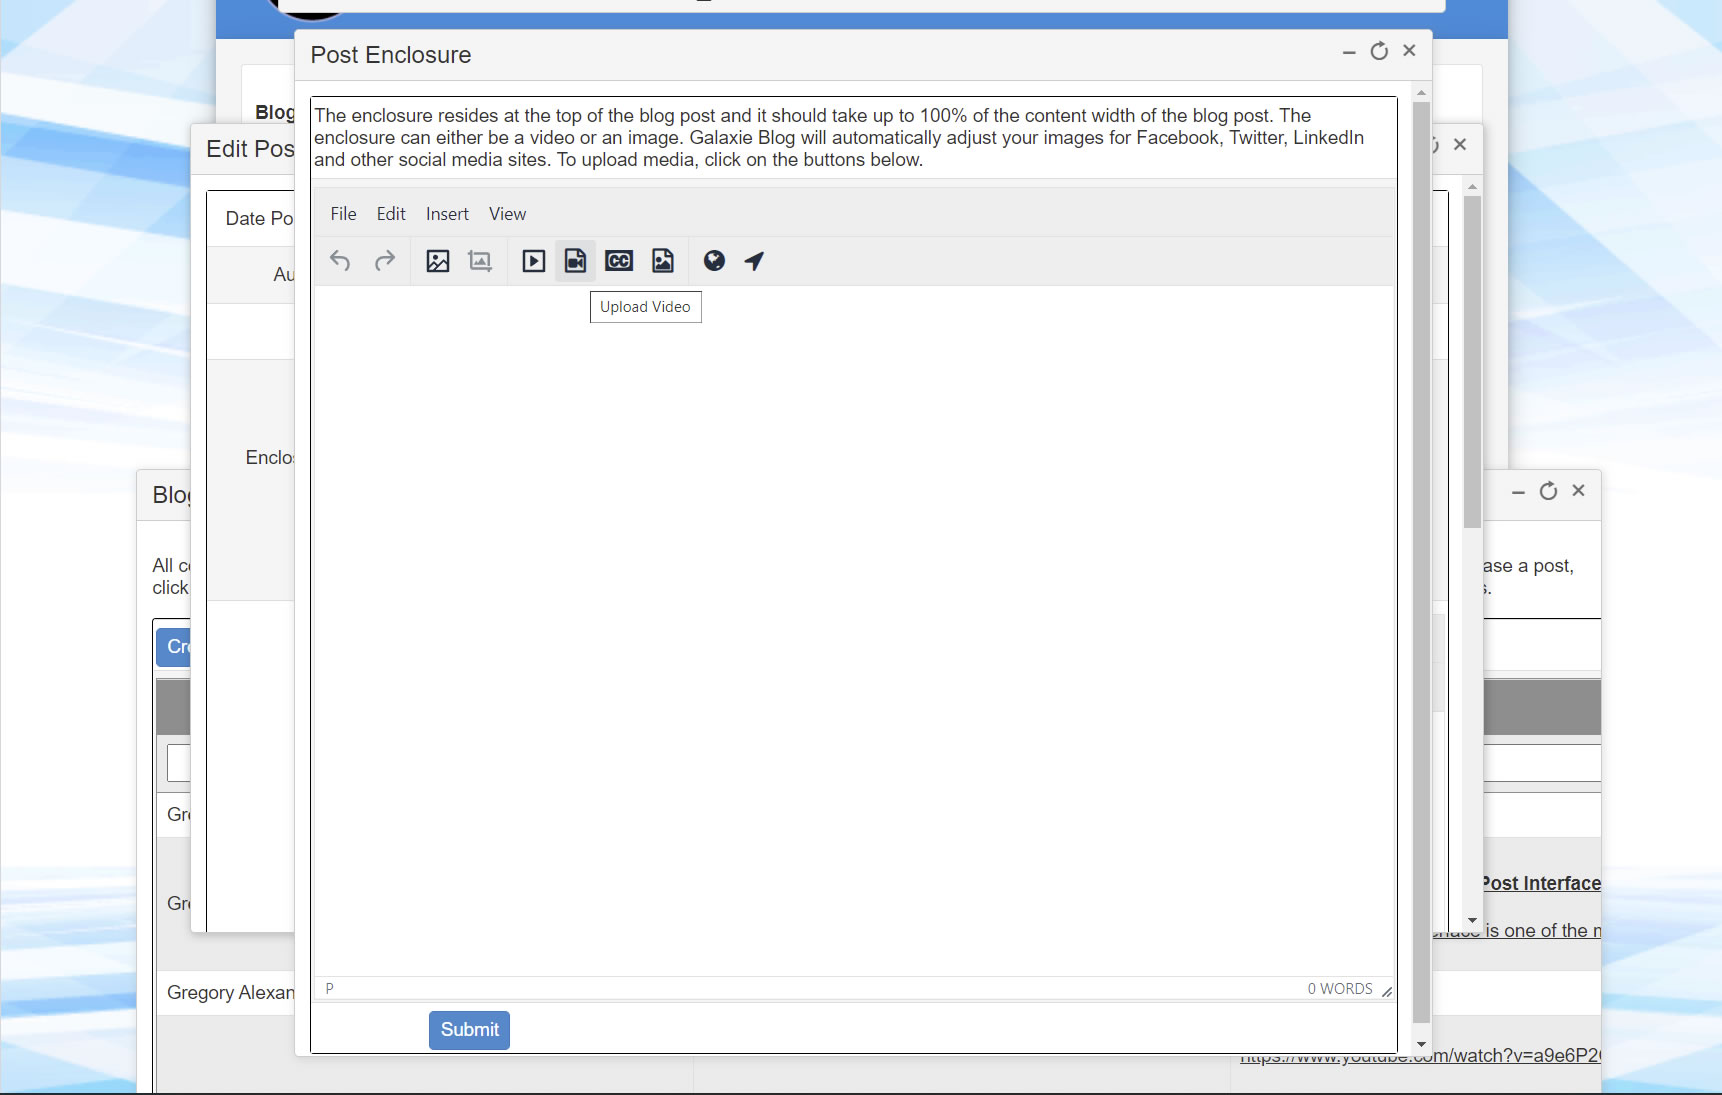
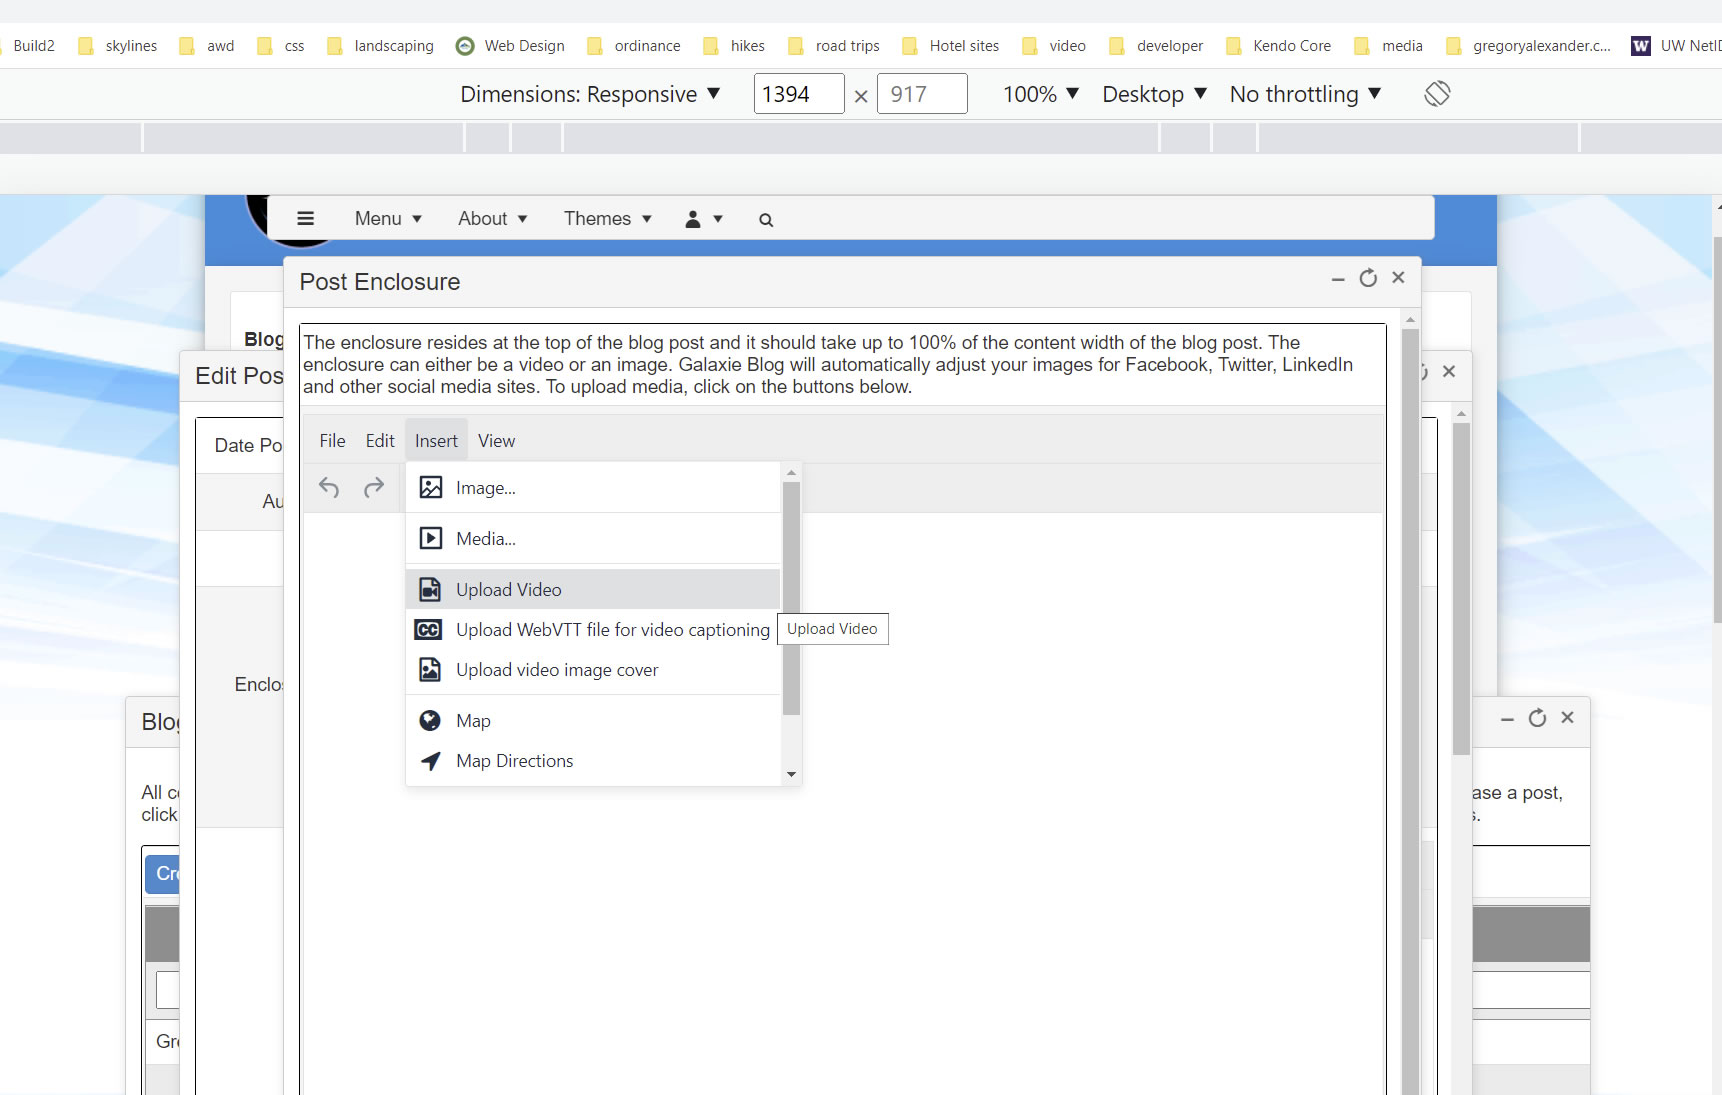
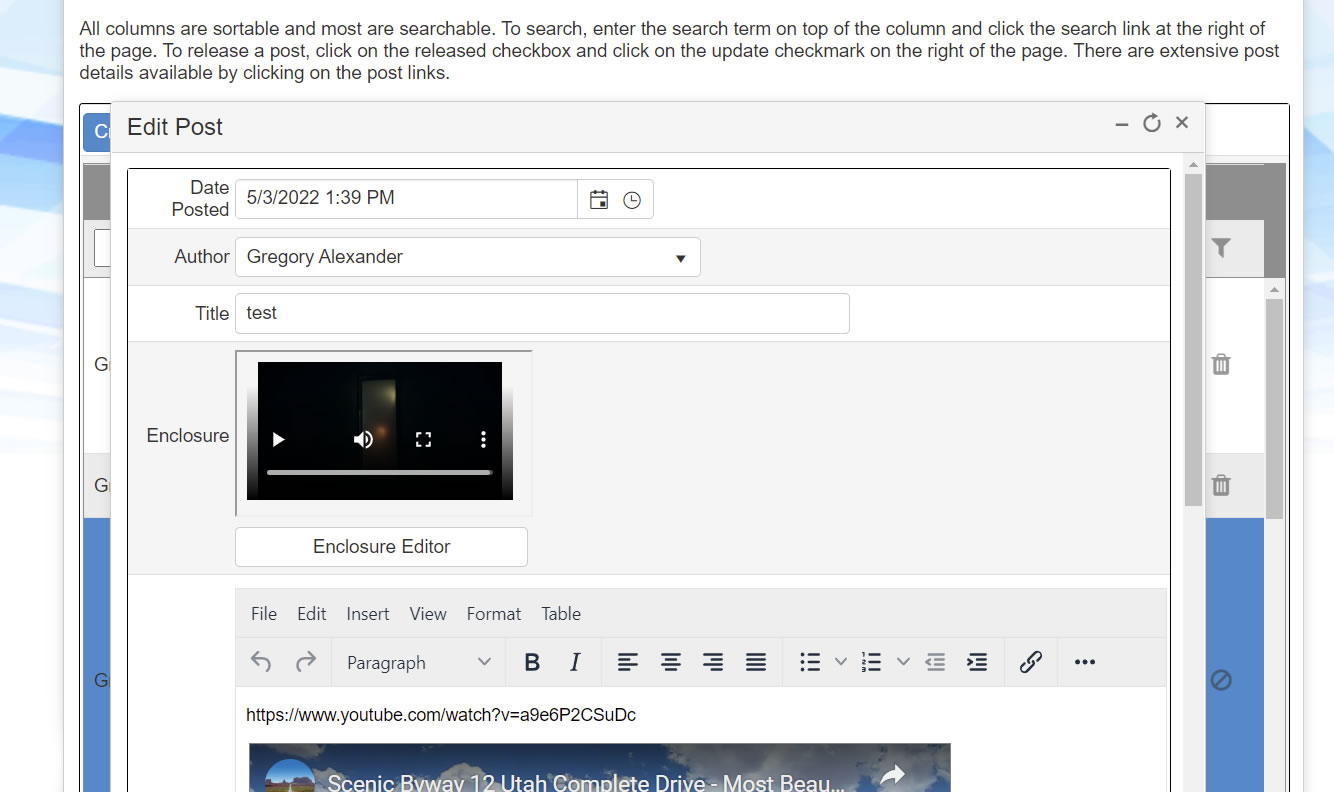
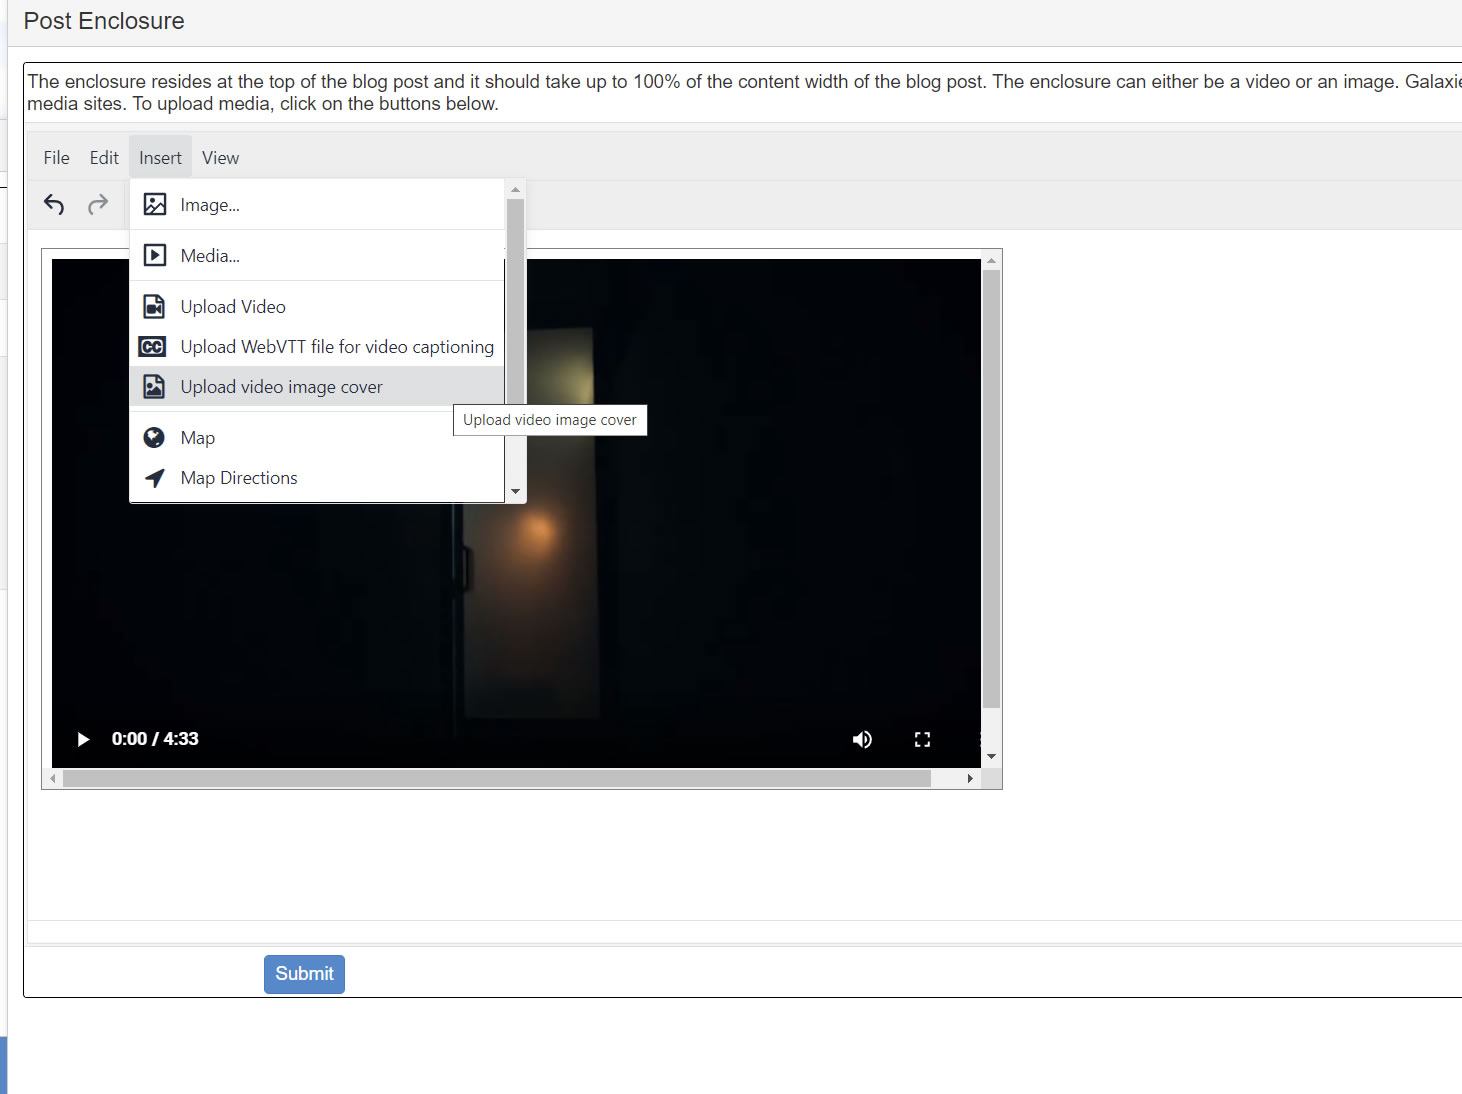
To upload a video to be included at the top of your blog post, log into the administration site, find your post, and open the Edit Post Interface. Then, click on the Enclosure Editor and click on the camera image labeled 'upload video.' Alternatively, you can select Insert—Upload Video using the Enclosure Editor.
Make sure that your videos are compressed, especially when you use a hosting provider. Images that exceed the server's upload settings will fail to upload.
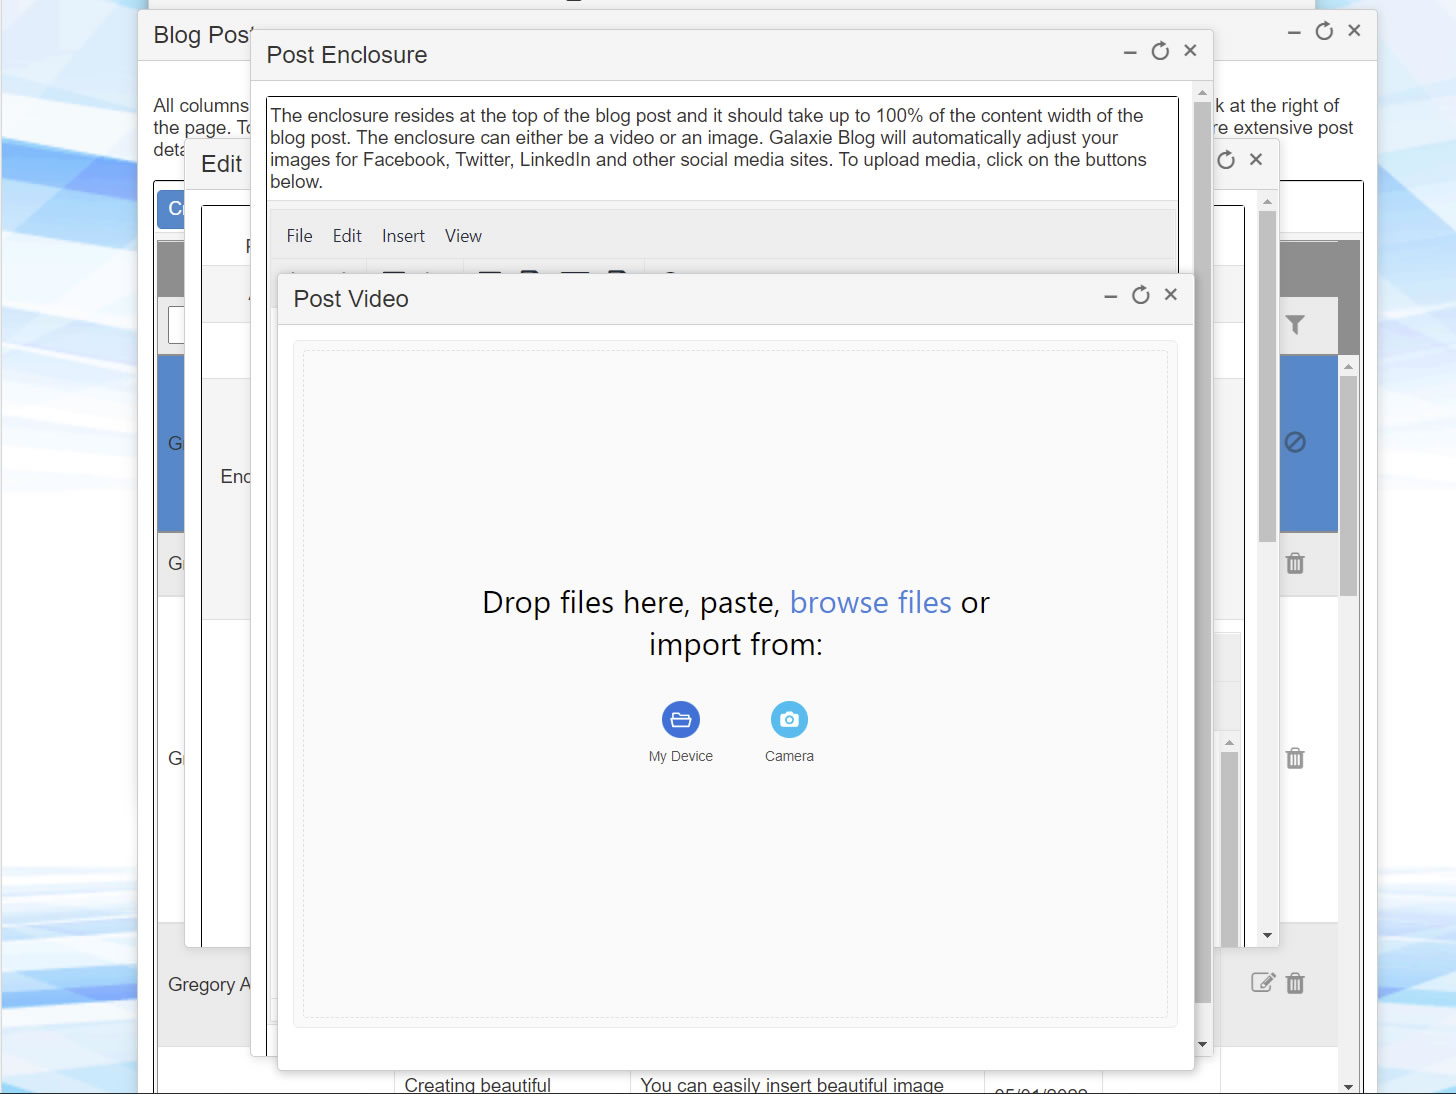
You can drag and drop an HTML5 video onto the upload video interface, select a video from your system, or use your camera. Only valid HTML5 video formats will be shown if you are browsing for a file.
- The uploader should provide a video preview with the file's name.
- You can add the video title by clicking on the pencil icon underneath the video.
- If you chose the wrong file, click on the x icon next to the video to remove it and select another video.
If everything looks good, click on the Upload File button below.
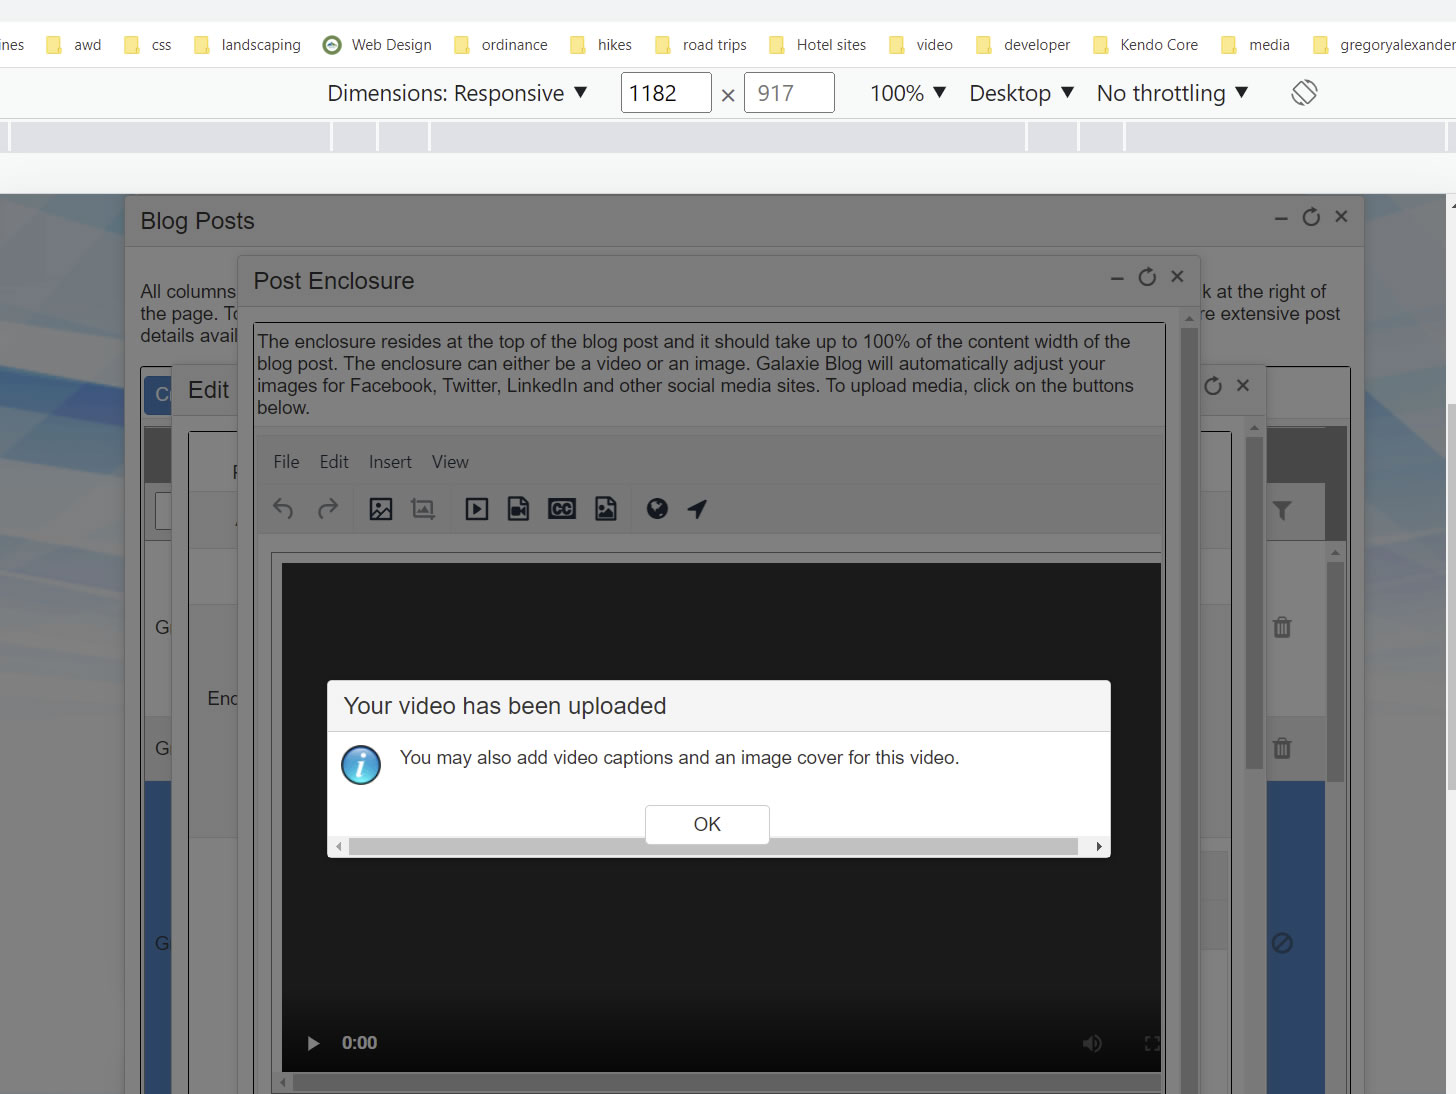
Once the video has been uploaded, a message will be displayed notifying you that you can add closed captions and create video image covers. After closing the dialog, a preview of your video will appear.
Adding Closed Captions
Closed captions may be added to your uploaded videos by uploading a WebVtt file.
A web VTT file is a simple text file and is easily constructed. It looks something like this:
WEBVTT - This file has cues.

14
00:01:14.815 --> 00:01:18.114
- More folks need to like Galaxie Blog on Gregory's git hub project.

15
00:01:18.171 --> 00:01:20.991
- Its an awesome project

16
00:01:21.058 --> 00:01:23.868
- [ pleading ]
- Please like my project!
Now that this little screed has been made let's follow the steps to create your closed captions.
Before processing, check to see if your web server needs support for the following mime type: text/vtt. Consult your web server administrator for more information.
- Create your web VTT file using a text editor.
- Save the file with a .vtt extension.
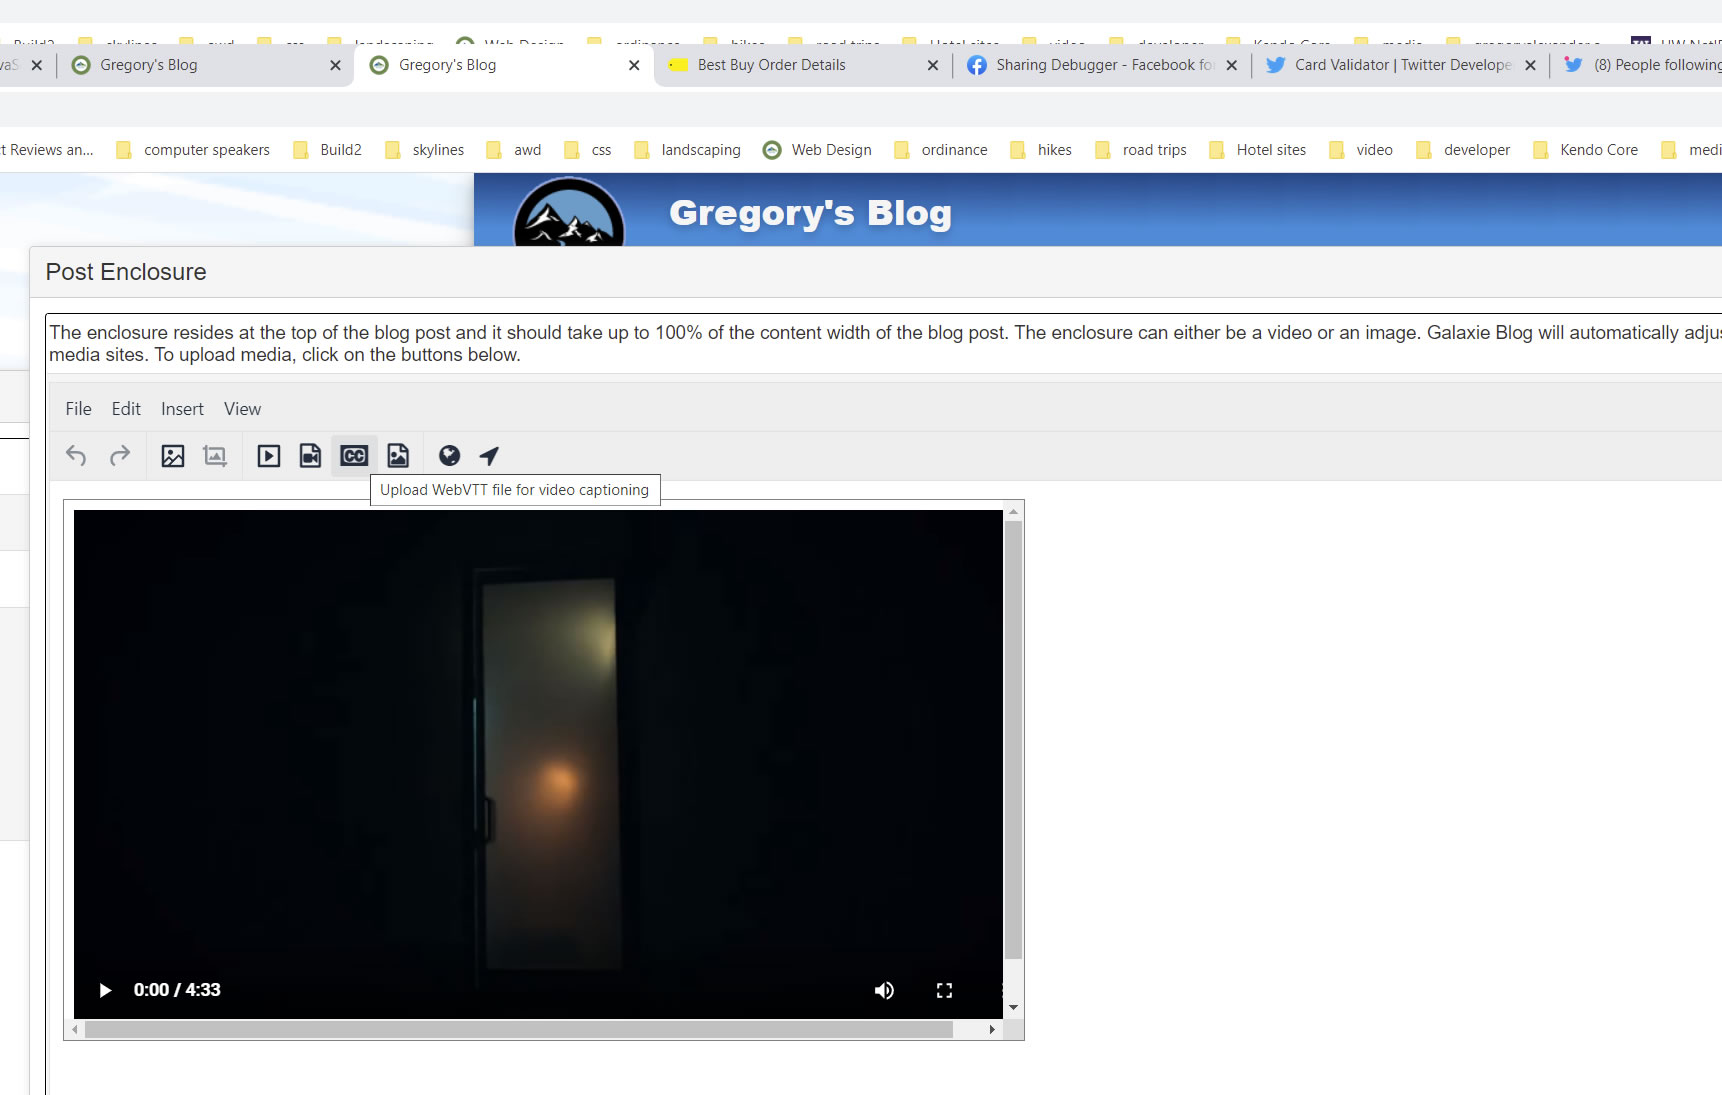
- Click on the CC icon labeled Upload WebVTT File, or click on Insert - Upload WebVTT file.
- A WebVTT Editor will be pulled up.
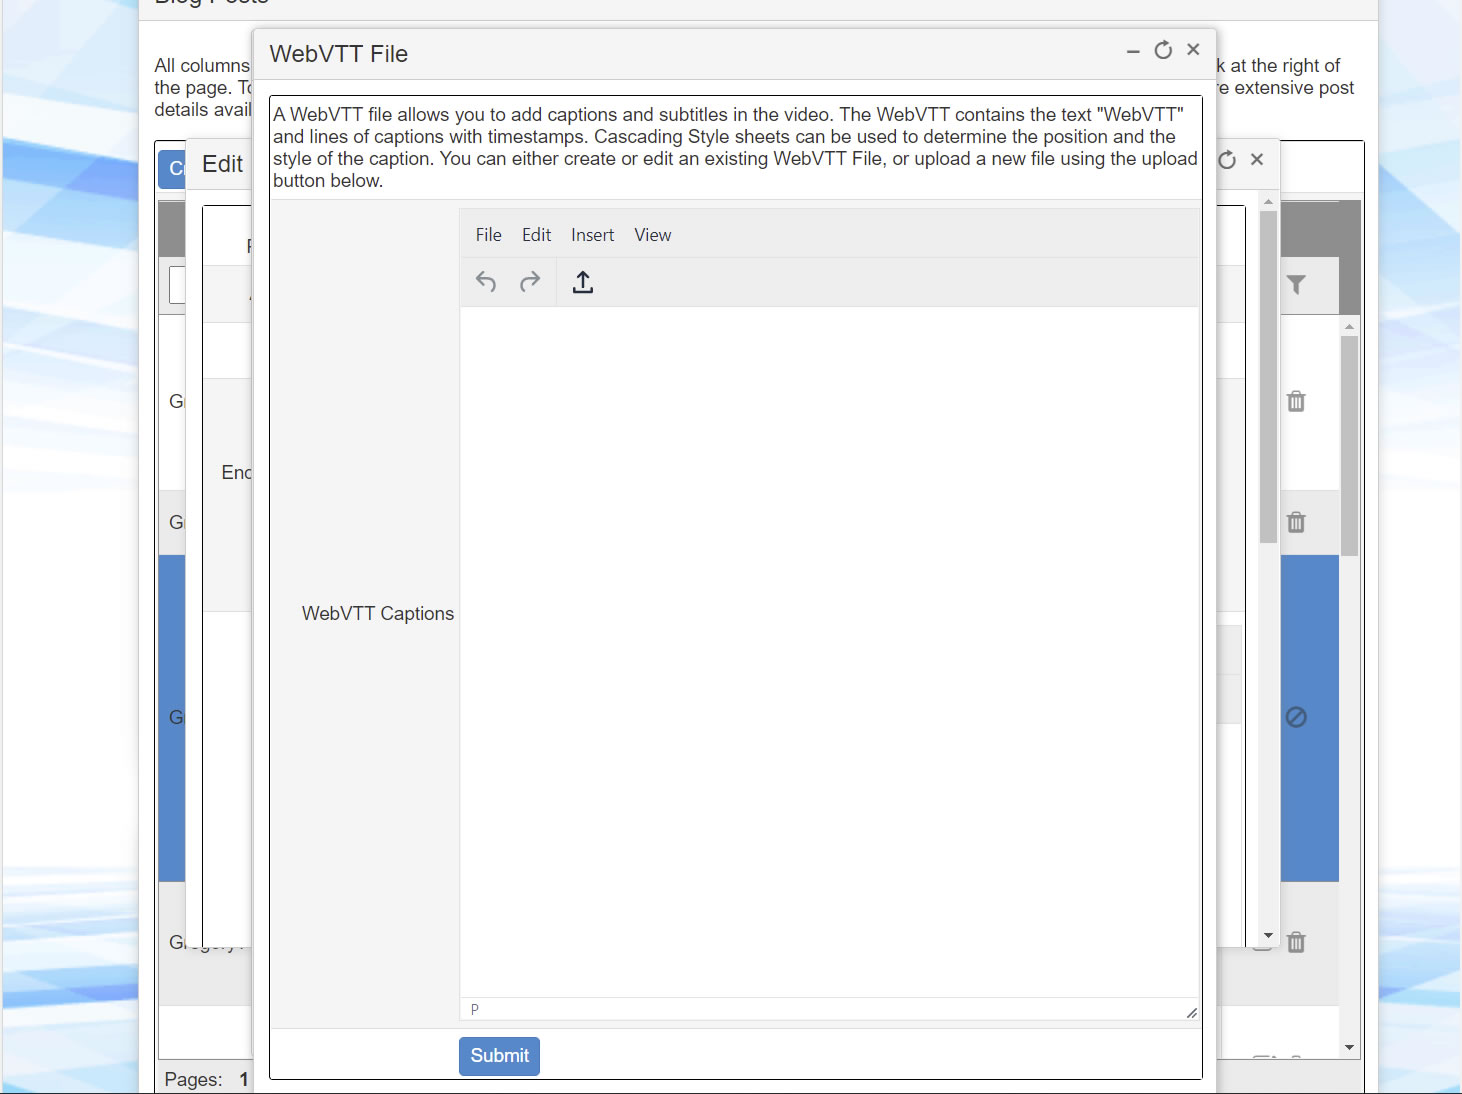
Once the Web VTT Editor is displayed:
- Click on the arrow icon to upload the VTT file that you have saved.
- Another uploader interface will be shown.
- Drag or drop the WebVTT file on top of the new interface, or use the finder to select the WebVTT file.
- Click on the upload button.
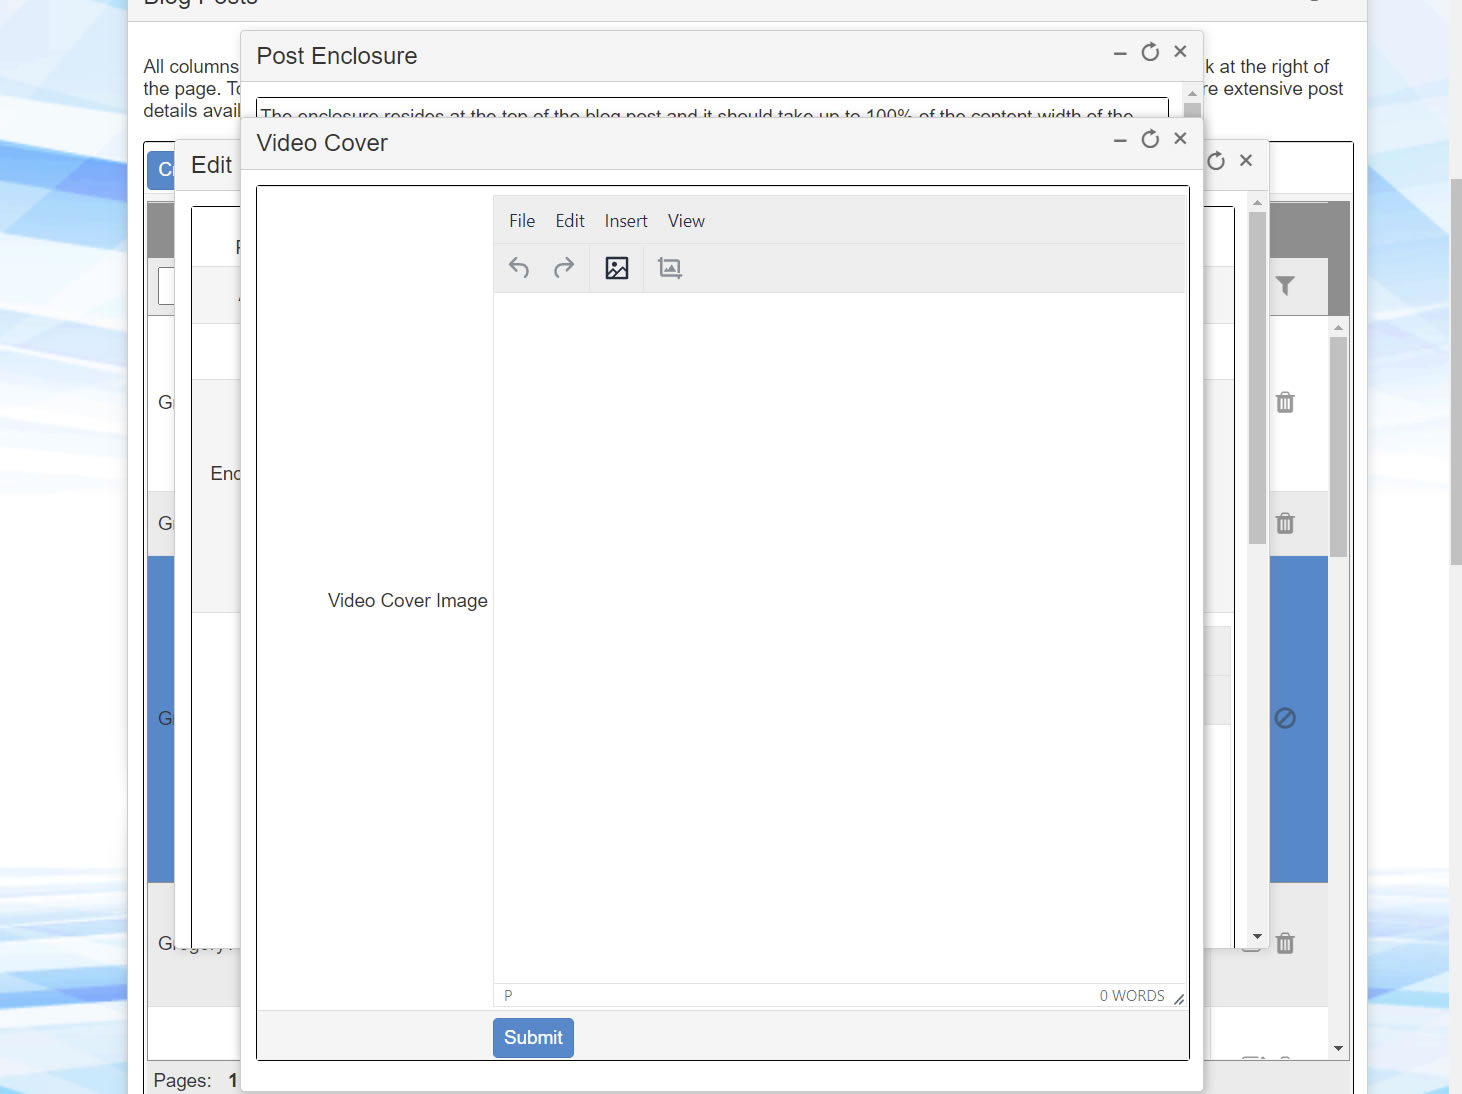
Adding an Image Cover
The video image cover will cover the video in its initial state and disappear when it is displayed.
To add a video image cover:
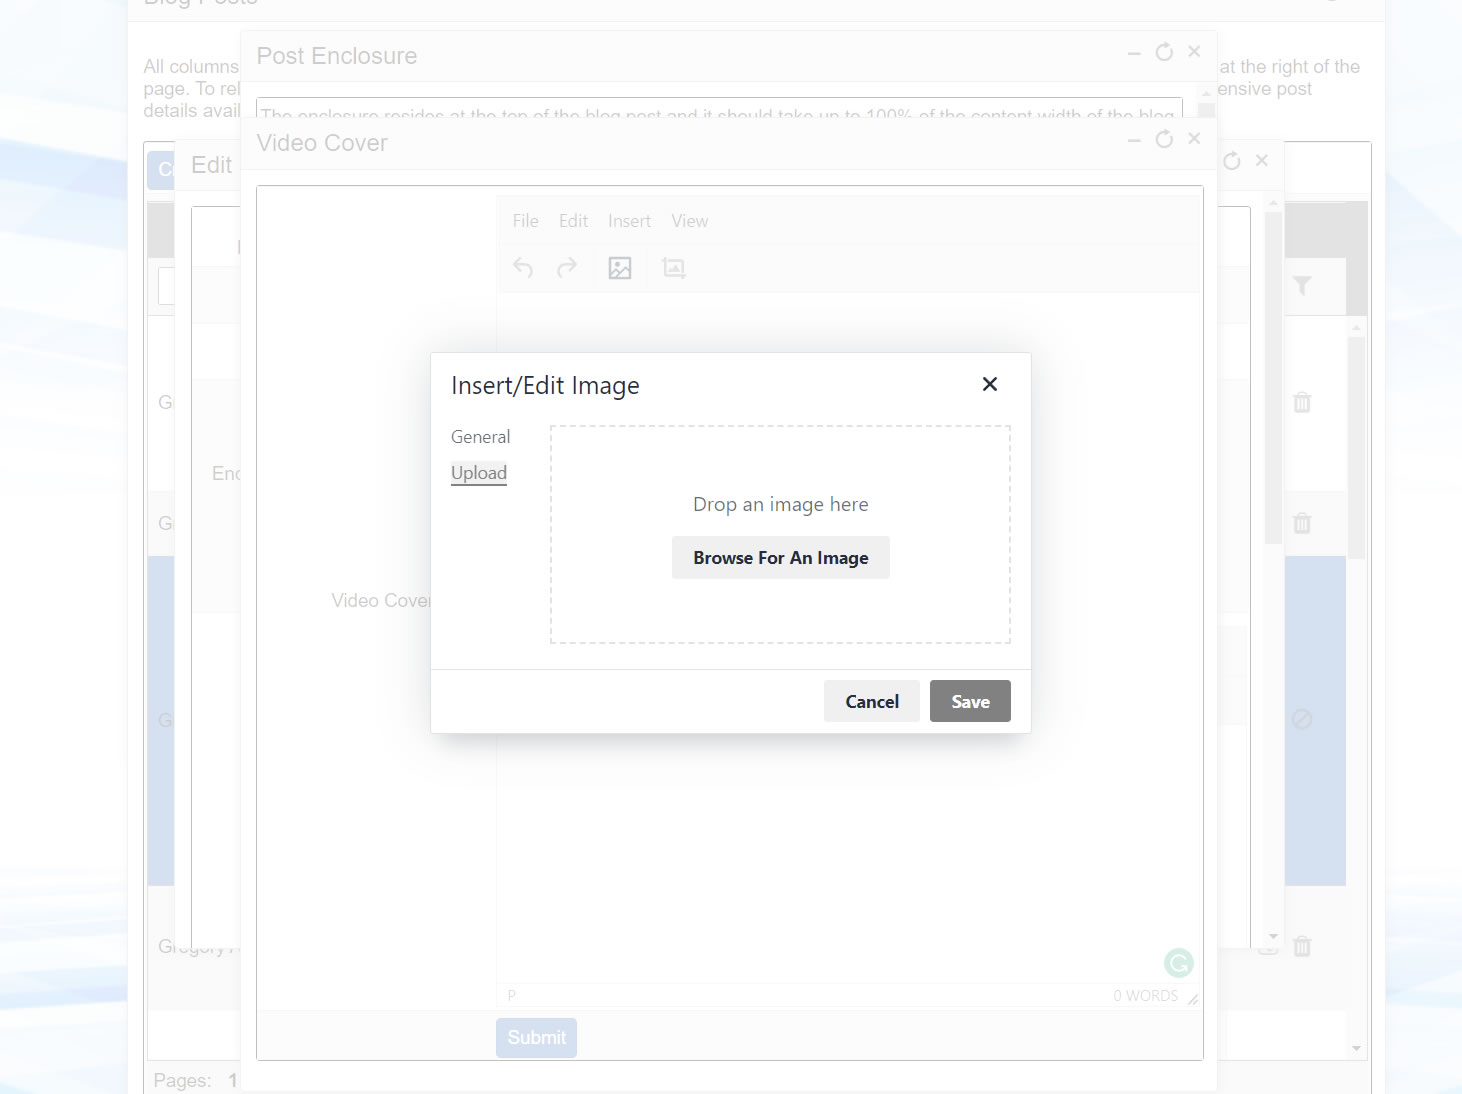
- Click on the Upload Image Cover icon in the Enclosure Editor, or choose Insert - Upload image cover,
- A new Insert/Edit Image interface will be displayed. You can upload your image cover using only one Insert/Edit Image icon.
- Upload a new image or specify the external URL to the image you want to serve as the video cover.
- If you are uploading, select the image you want as the image cover and click the submit button.
- Your video should be previewed with your new image covering the video.
Related Entries
Tags
Media Player, Media PlayerThis entry was posted on May 3, 2022 at 12:07 PM and has received 759 views.