Galaxie Blog Custom Window Interface
|
Jul 6 |
Galaxie Blog allows you to create custom windows that can be used with either a ColdFusion dynamic cfinclude, or you may create custom content using Galaxie Blogs Post Editor. You can configure the window and button properties using a WYSIWYG editor. Additionally, you can set the window size, title, and button labels when creating a window.
You can use these custom windows for anything that you would like. Custom windows can be used as a popup to show the location of your business, alert your users with an announcement, or allow them to purchase something. The window may contain a full-fledged ColdFusion-based e-commerce application with a dynamic include, or you can use a WYSIWYG editor to embed maps, images, or video content. The interface automatically creates the button to launch the custom windows, and you can use these buttons and place them anywhere you want to open your custom window. Additionally, Galaxie Blog also automatically creates an SEO-friendly URL link that you can use to open your custom window.
Table of Contents
Sample Galaxie Blog Custom Windows
The examples shown below are not comprehensive. You can include any content in a custom window that you can create in a post. The main difference between a post and a custom window is that you can place custom windows anywhere on the site. However, no SEO handling for search engines or RSS is provided for these custom windows.
Note: I will use content from the Into the Box conference this year. I am not affiliated with the company associated with this convention or the convention itself in any way, however, many of the ColdFusion community may find this relevant and exciting. For a complete list of Into the Box information, please see the IntoTheBox site at https://www.intothebox.org/
Custom Window with a Map Generated by the Custom Window Editor
The following button will open up a dynamic map showing the Into the Box conference location for 2022.
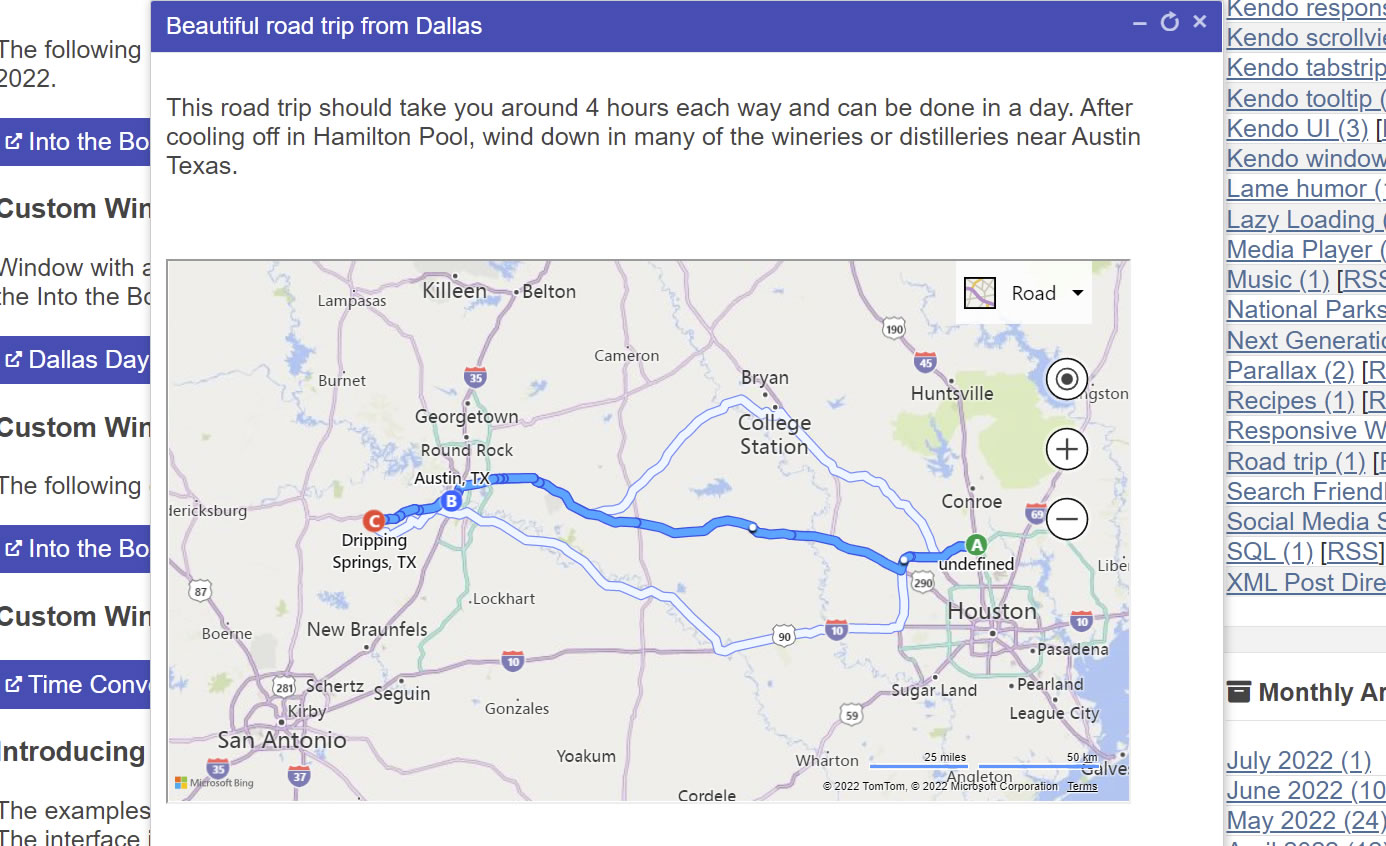
Custom Window with a Route
A window with a map route shows an easy but beautiful road trip around Dallas if you attend the Into the Box convention. This route is auto-generated from the Custom Window Editor.
Custom Window with a ColdFusion-based Ajax Application
The following contains a full-featured ColdFusion HTML5-based application to show an example of how to use server-side processing to convert dates across time zones. This uses a cfinclude.
Introducing the Galaxie Blog Custom Window Interface
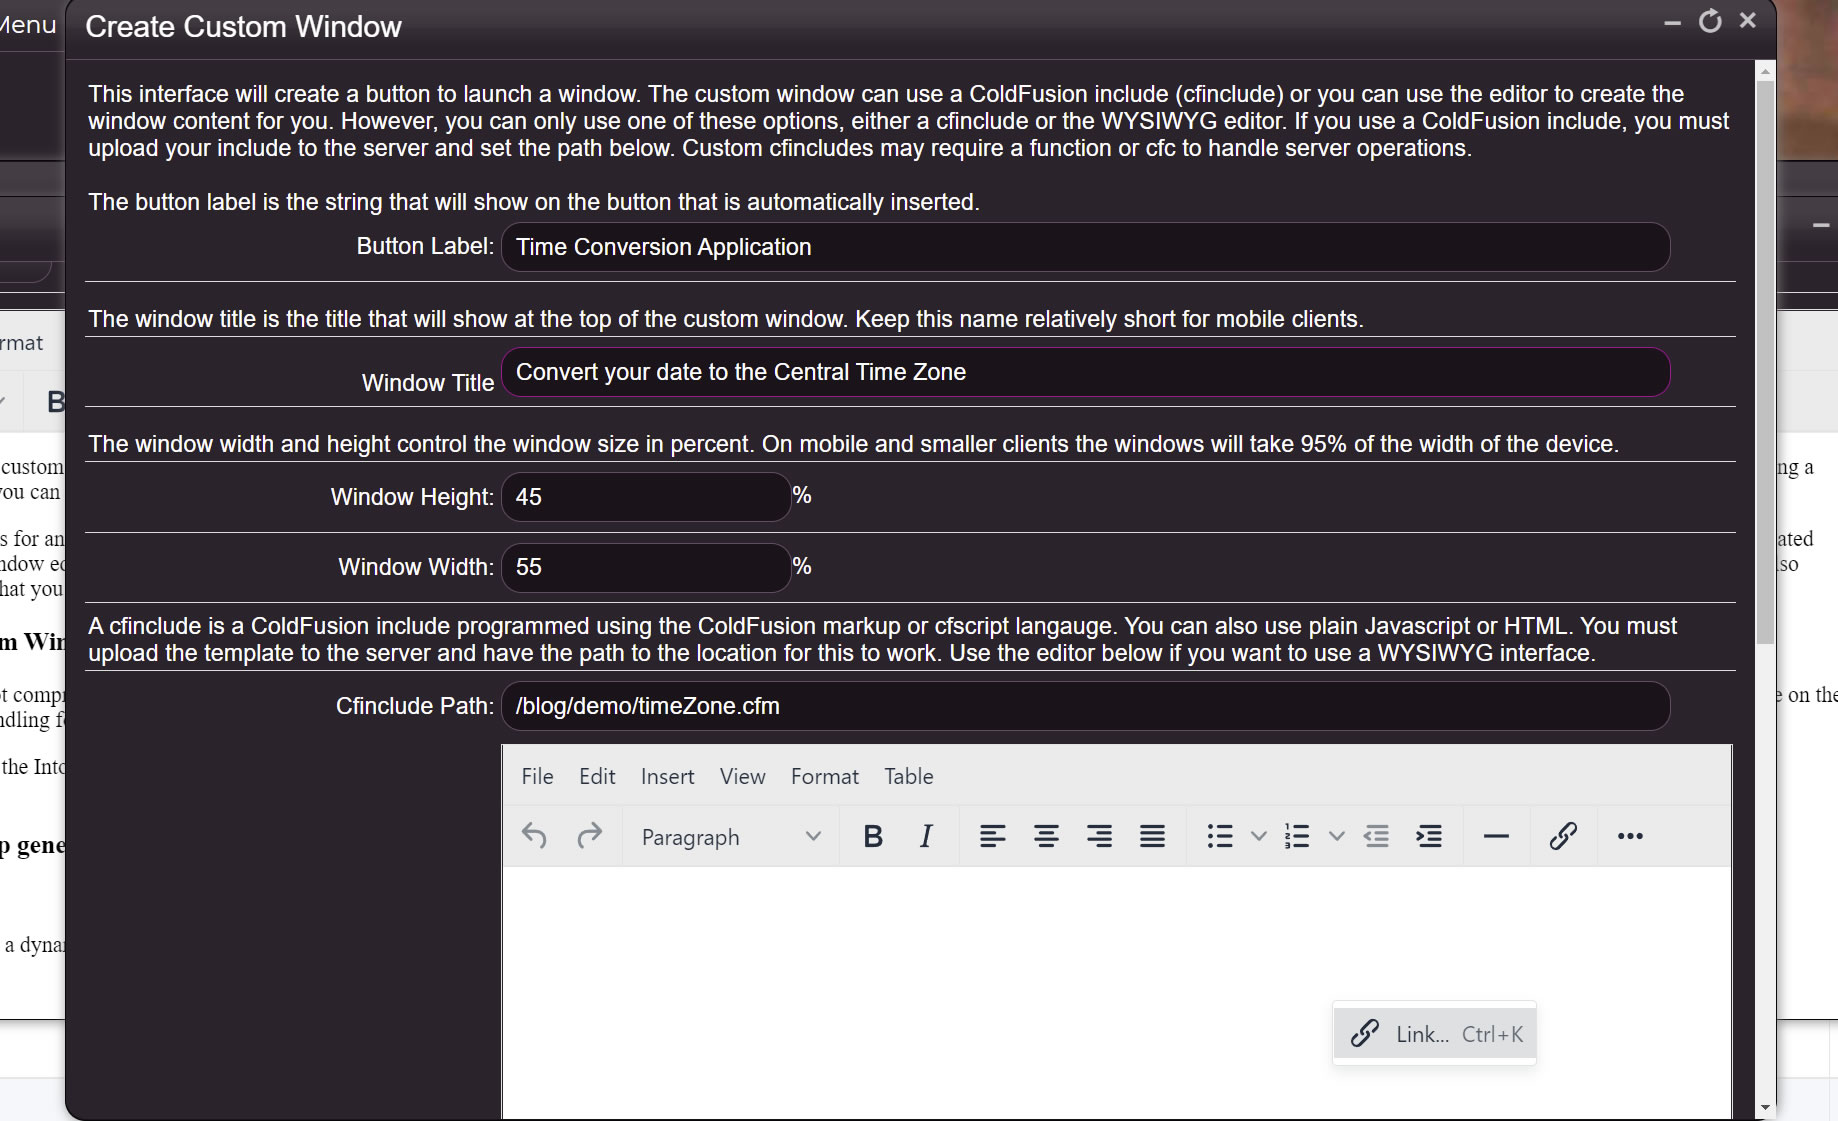
The examples above were all generated using the Custom Window Interface in the Post Editor. The interface is quite simple, it prompts you for a window title, window height and width, and you need to put in a path for the cfinclude or use the Custom Window Editor to provide the content, which is identical to the Edit Post Interface. If you have any existing custom windows for a given post, an interface editor will allow you to edit an existing custom window. After submitting the form, a button will be placed where the cursor resides in the Edit Post Interface.
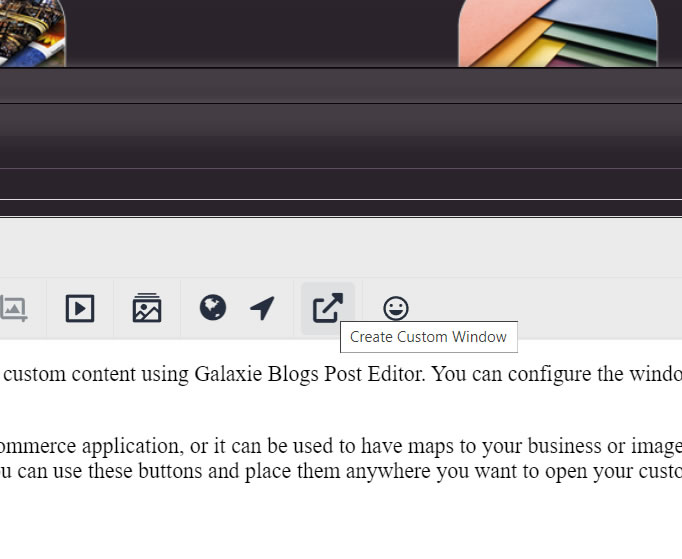
The Custom Window Interface is available on the Edit Post Interface. You can launch this editor by clicking on the Custom Window Interface button that looks like a box with an upward arrow or by clicking on Insert - Create Custom Window.

- If you already have an existing custom window for the post, the application will ask you if you want to edit an existing custom window or create a new one.
- Enter the window width, height, and button label. You also must enter either the path for an existing ColdFusion template or use the Custom Window Editor to create the content for the custom window.
- Once you are done, click on the submit button. Once the custom window has been created, a message will be shown displaying the optional URL

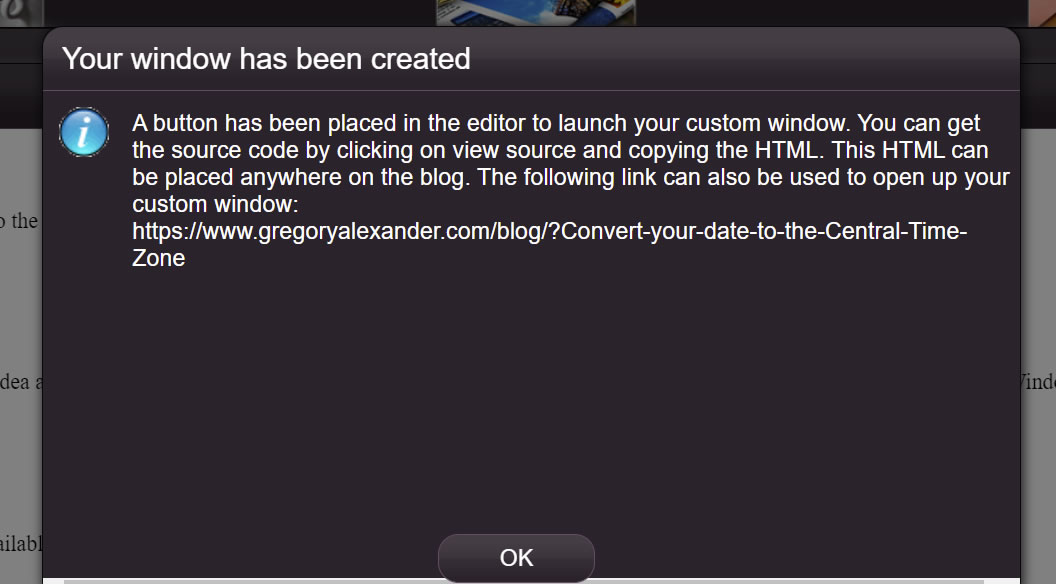
That's all it takes to create a dynamic custom window!
Happy Blogging
Note: This is the first version of the new Custom Window Interface. I hope to improve mobile handling of the generated content and add more window configuration options in the next version.
Related Entries
Tags
Custom Window InterfaceThis entry was posted on July 6, 2022 at 11:34 AM and has received 1024 views.